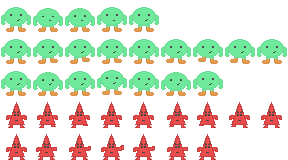
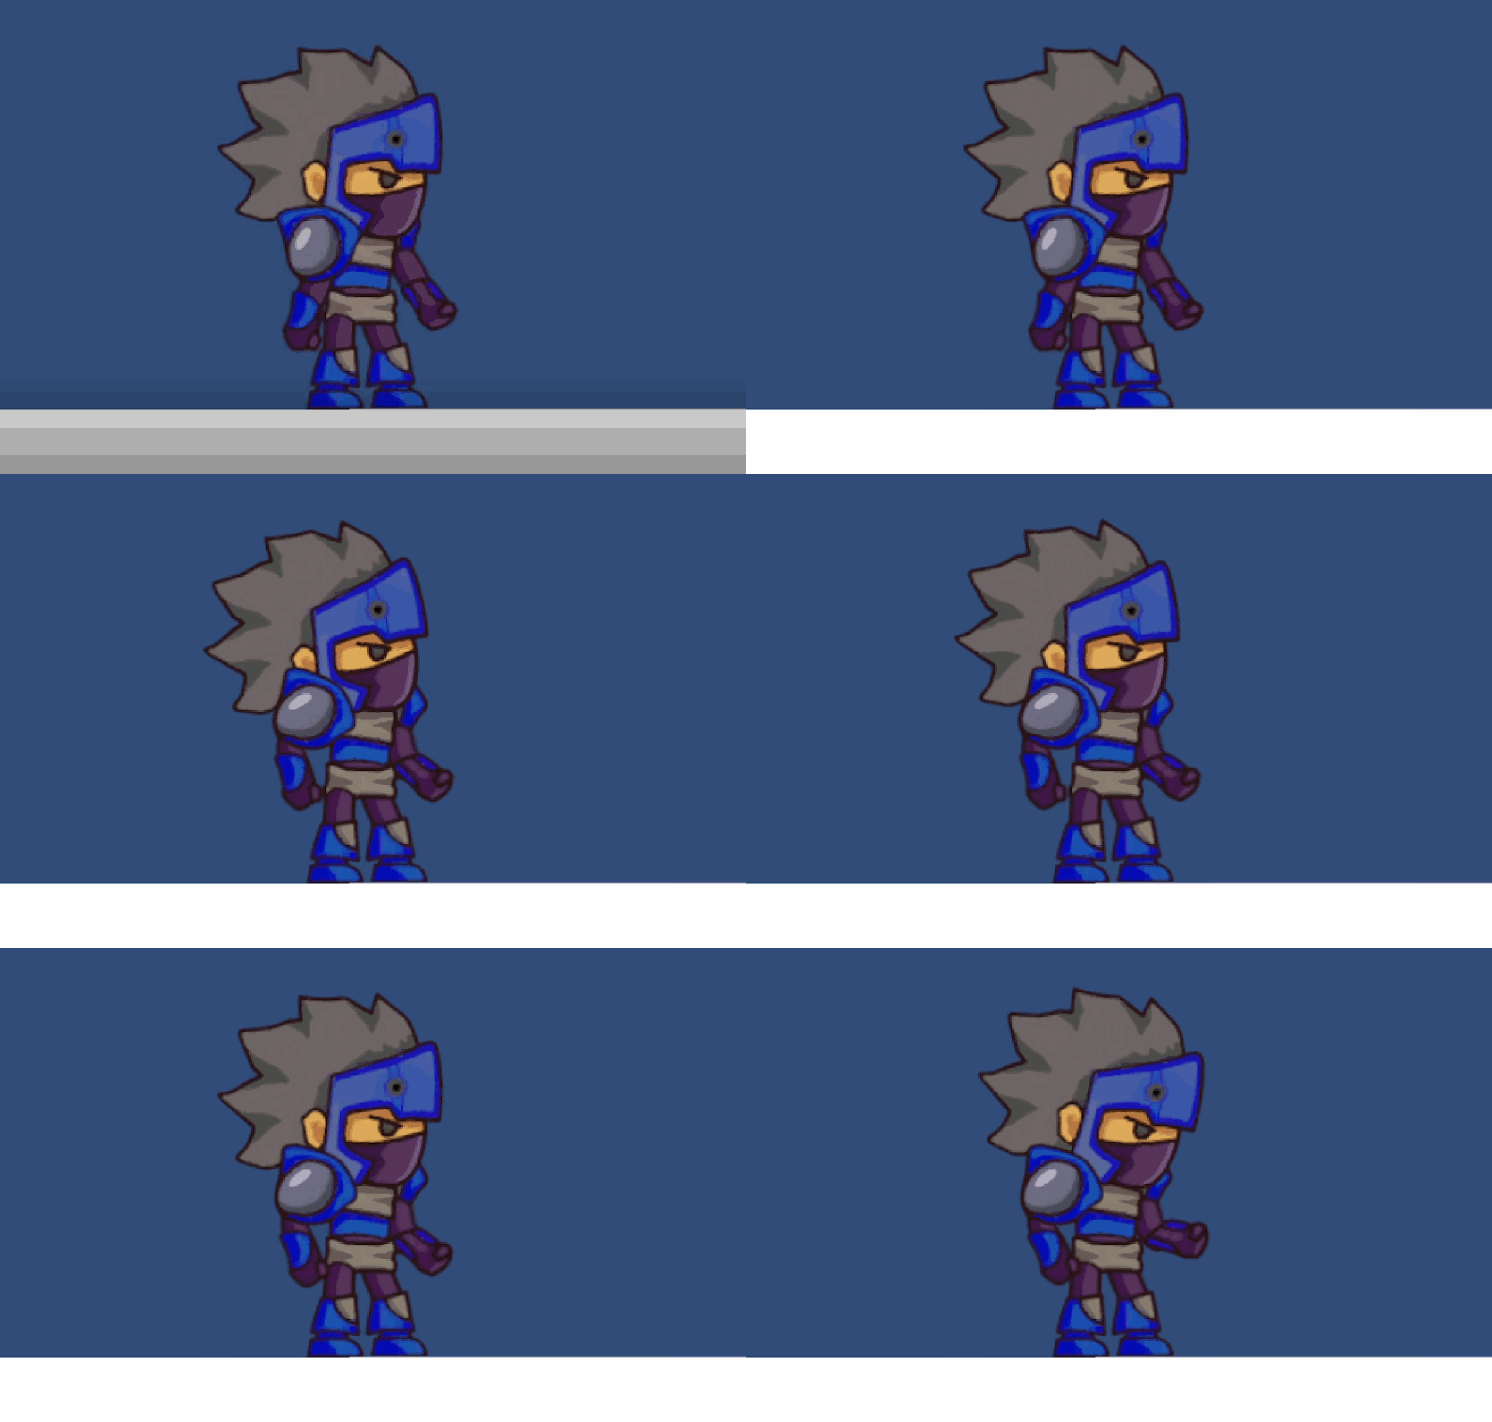
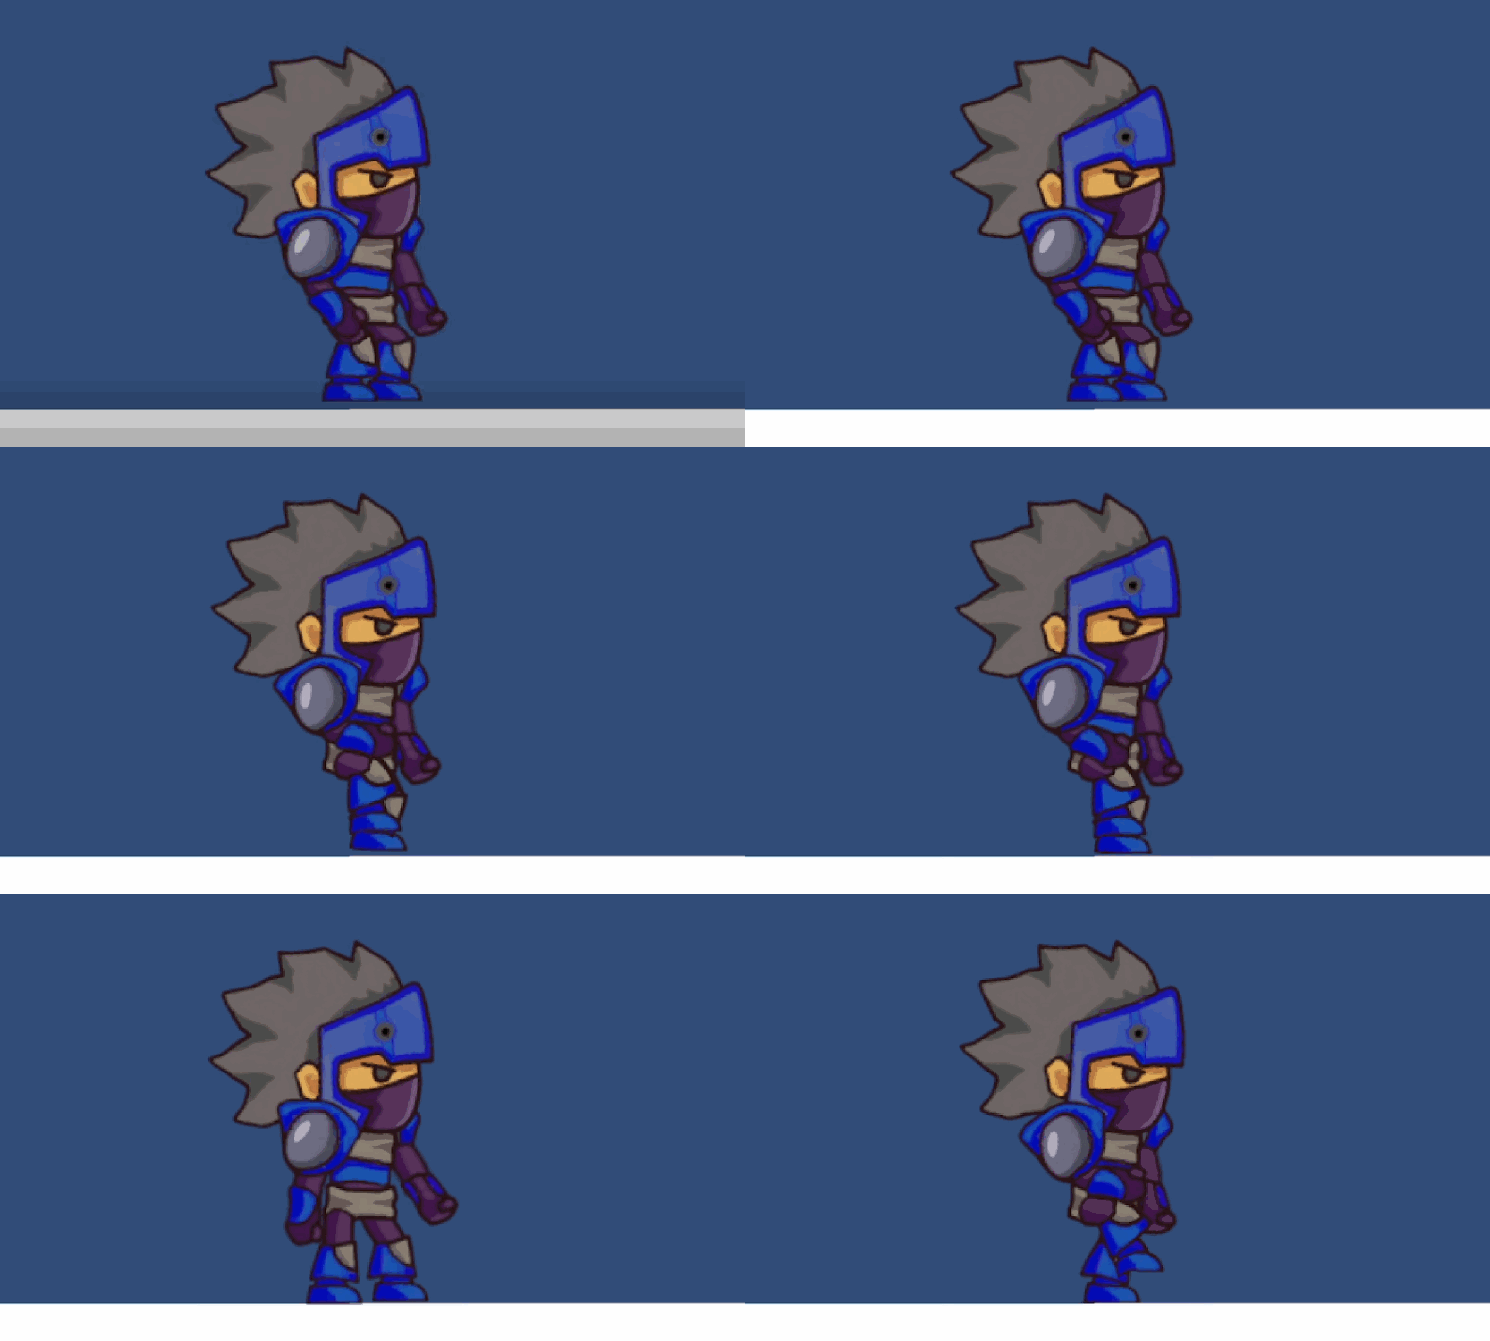
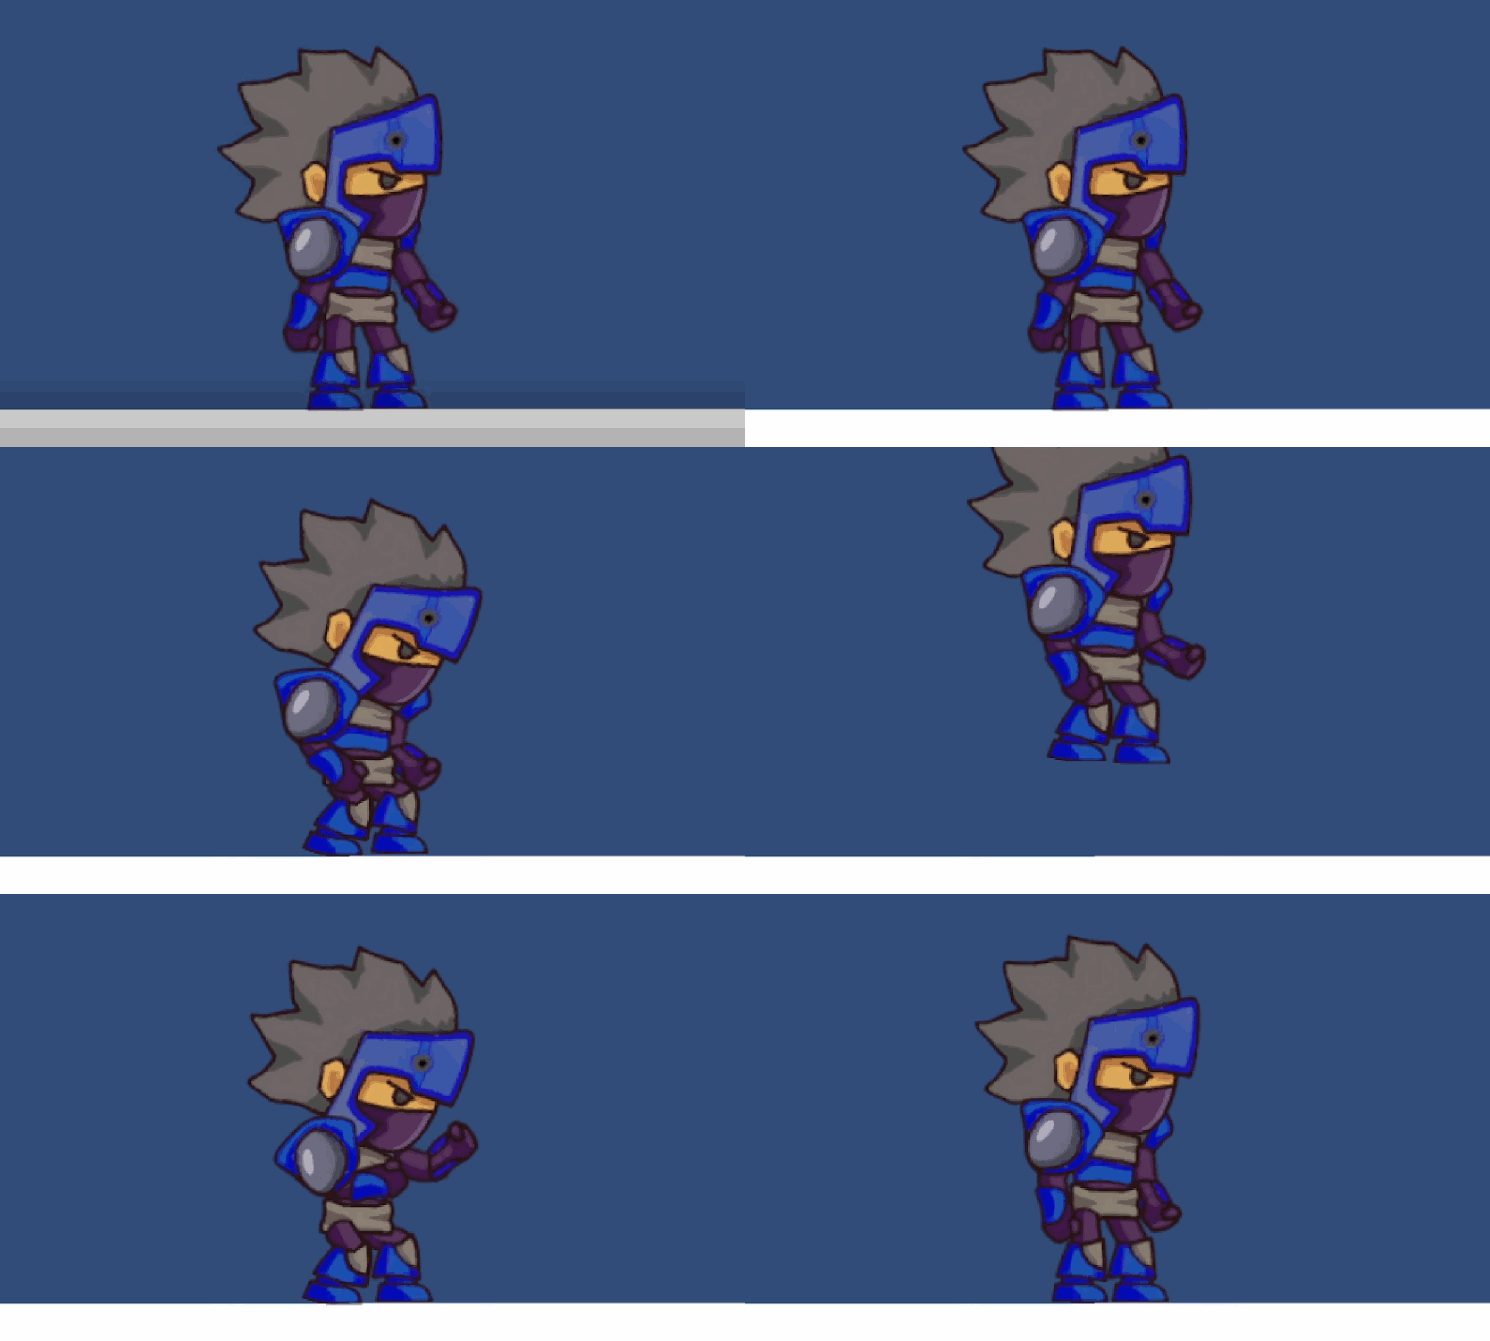
For week ten of Art and Animation, we were asked to create both a sprite sheet for player and enemy animation cycles and an animation using bone rigging. Sprite sheets show each frame of an animation in a row, whereas bone rigging is where you use separate parts of a sprite in Unity and attach them with ‘bones’, allowing you to easily animate movement.
Sprite Sheet

For the sprite sheet, I had to create a player idle, walk and jump cycle over a series of frames. As well as this, I had to also make frames for an enemy walk and attack animation. Unlike the animations I made for my platformer, I made sure to have much more movement between frames so it looks much more smooth. I also used shape theory when it came to designing the sprites themselves, as I made the enemy have much more sharp edges to appear most hostile to the player. On the other hand, I chose a much more rounded shape for the player sprite so that it appears more friendly compared to the triangle.
Bone Rigging
For the bone rigging animation, we were given a sprite template where each moving part is on its layer. Once imported into Unity, It recognises these layers and arranges them into the full sprite, allowing us to start mapping out the bones in the skinning editor. I first had to auto-generate the geometry for the sprite, which controls how smoothly each piece of the sprite stretches when moved. After I had done this, I could start adding bones to the sprite. I started by creating the Root bone, then one for the body and head. Once I had these bones as a basis, I attached three bones for the upper arm, lower arm and hands for both arms. These bones are attached to the body bone and I repeated this process for the legs but attached them to the Root bone instead. In the weights section of the skinning editor, I also adjusted the sprite influence. This shows which aspects of the sprite are affected by each bone, and allows you to edit these.
Once my sprite worked correctly, I went back into Unity and added the sprite to the scene, allowing me to start animating. I also added a game object for the sprite to stand on while I animate it. First I had to add an Inverse Kinematics (IK) manager to the Root sprite, which allowed me to chain the bones in the arms and legs together, making animating them much easier. For each limb, I needed to add a limb solver and assign the end bone of each as an effector, allowing all of the bones to link together. The last thing I needed to do before creating the actual animations was to add an animator component to the sprite and attach a controller to it.
Once I had opened the animation timeline, I started to make an idle, walk and jump animation by selecting a point on the timeline and pressing record, then I moved a section of the sprite to make a keyframe. Unity then fills in the gap in the animation when it plays so I repeated this process for the three of my animations.
Idle

For my idle animation, I made the sprite do very basic movements and I think that it turned out quite well. The movements I animated for the arms worked very well but if I was to recreate this, I would most likely add some movement to the legs.
Walking

For my walking animation, I had to be much more accurate with my keyframes so the walking appears natural. I think I managed to do this, but the time between the frames is slightly too short and the finished animation appears too fast. Despite this, I think that the movements I made with the sprite are good.
Jump

I think that the animation I made for the jump is the most successful one as I managed to time the keyframes well and loop it smoothly as well. With what I learned from the principles of animation, I made sure to build anticipation before the actual jumping keyframe by making the sprite crouch and build energy before the actual jump.