This week we were tasked with creating an image from a singular perspective point. This was to help us gather an understanding of how perspective works as a whole when it comes to Art and Animation.
Ideas
For my perspective drawing, I decided to draw a simple room in Photoshop to help me learn to draw from a consistent point of view. I planned to use a grid as well as lines leading from a singular point on the image to help me judge where certain lines should be placed for the perspective to work correctly.
Process
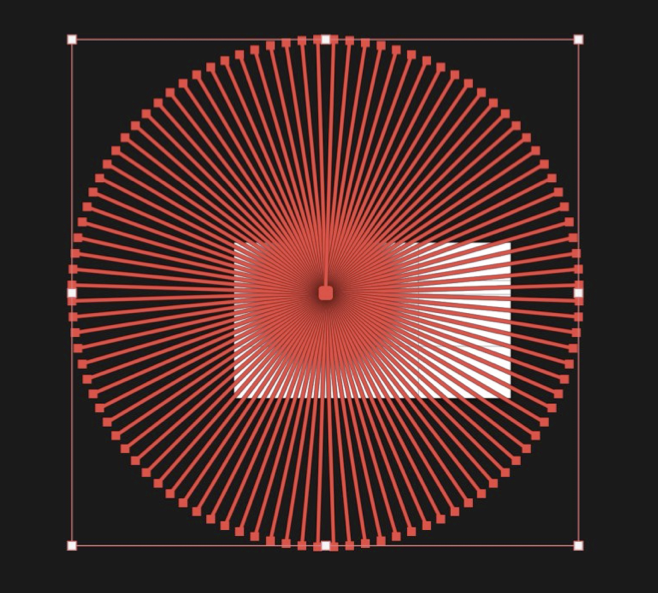
In Photoshop I first used a 3×3 grid to show where the vanishing points of the image will be, which is on the points where the lines meet. Then, using the polygon tool to create a circular shape like the one below, I was able to see where all my lines would need to go from the point I had chosen for the perspective to be from.
Once I had the guide to work from, I used the line tool to start drawing out the basic outline of a room on different layers so if I needed to go back and change a certain area, it would be much easier. After I had the basis of the room drawn out, I added a light, a window and a door so add more detail to the walls. I also added a table and a rug to make the room less empty. I also decided to shade the image only in grayscale as i thought it worked better.
Final Outcome
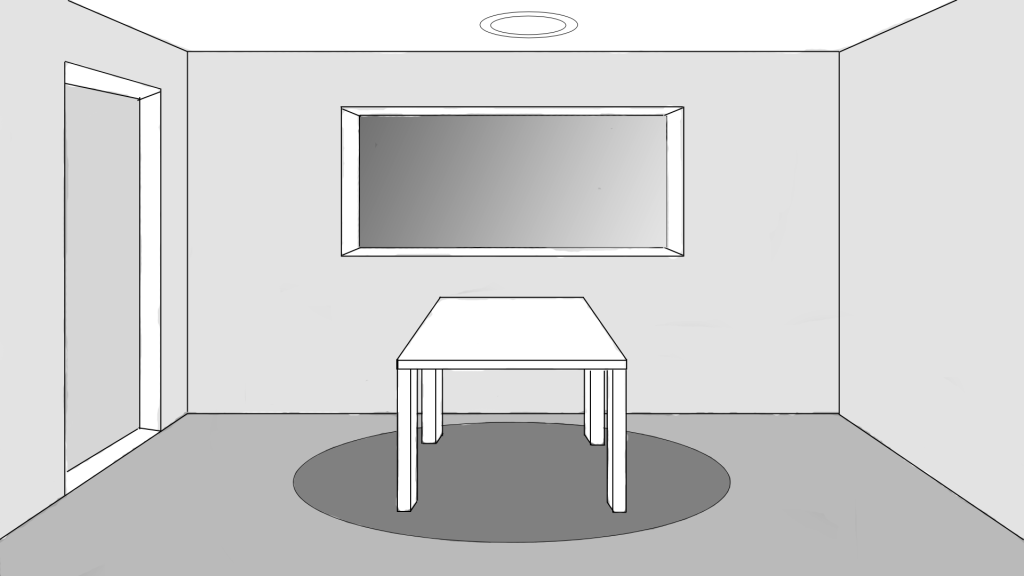
Overall I like how my image turned out as I managed to maintain a clear point of perspective throughout by using the grids I set up in the beginning. If I was to recreate this, I would like to add more detail and perhaps some colour, but for my first attempt of a drawing focusing solely on perspective, I think that it turned out quite successful.