Building My Asset
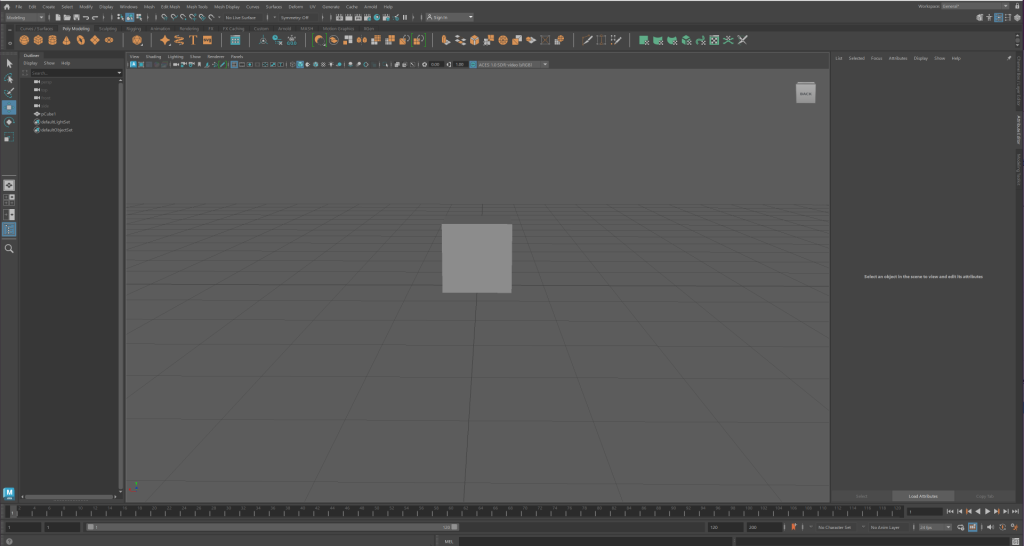
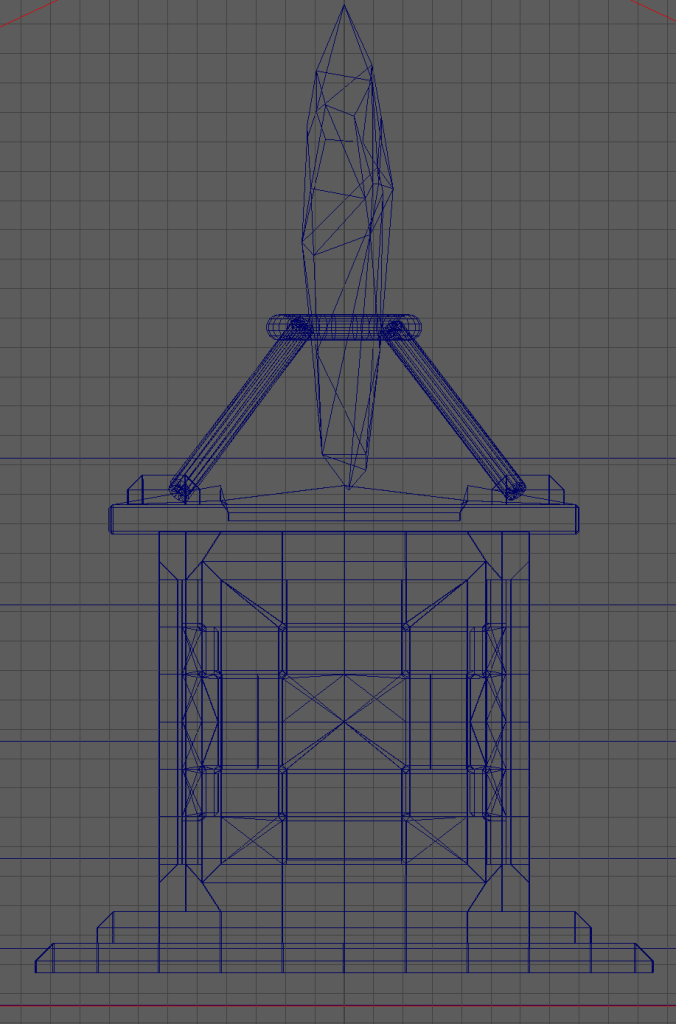
The plan I had for my asset was to create a pedestal with a crystal, so I decided to start with the pedestal and work my way upwards. I started with a cube and proceeded to bevel and extrude until I had a layered base for the pedestal and a cube to make the main part out of.
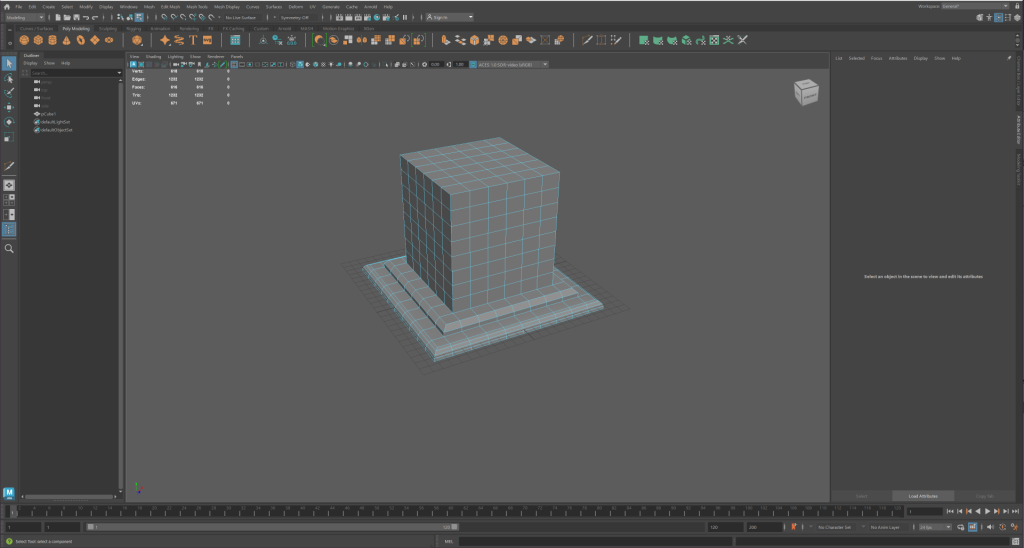
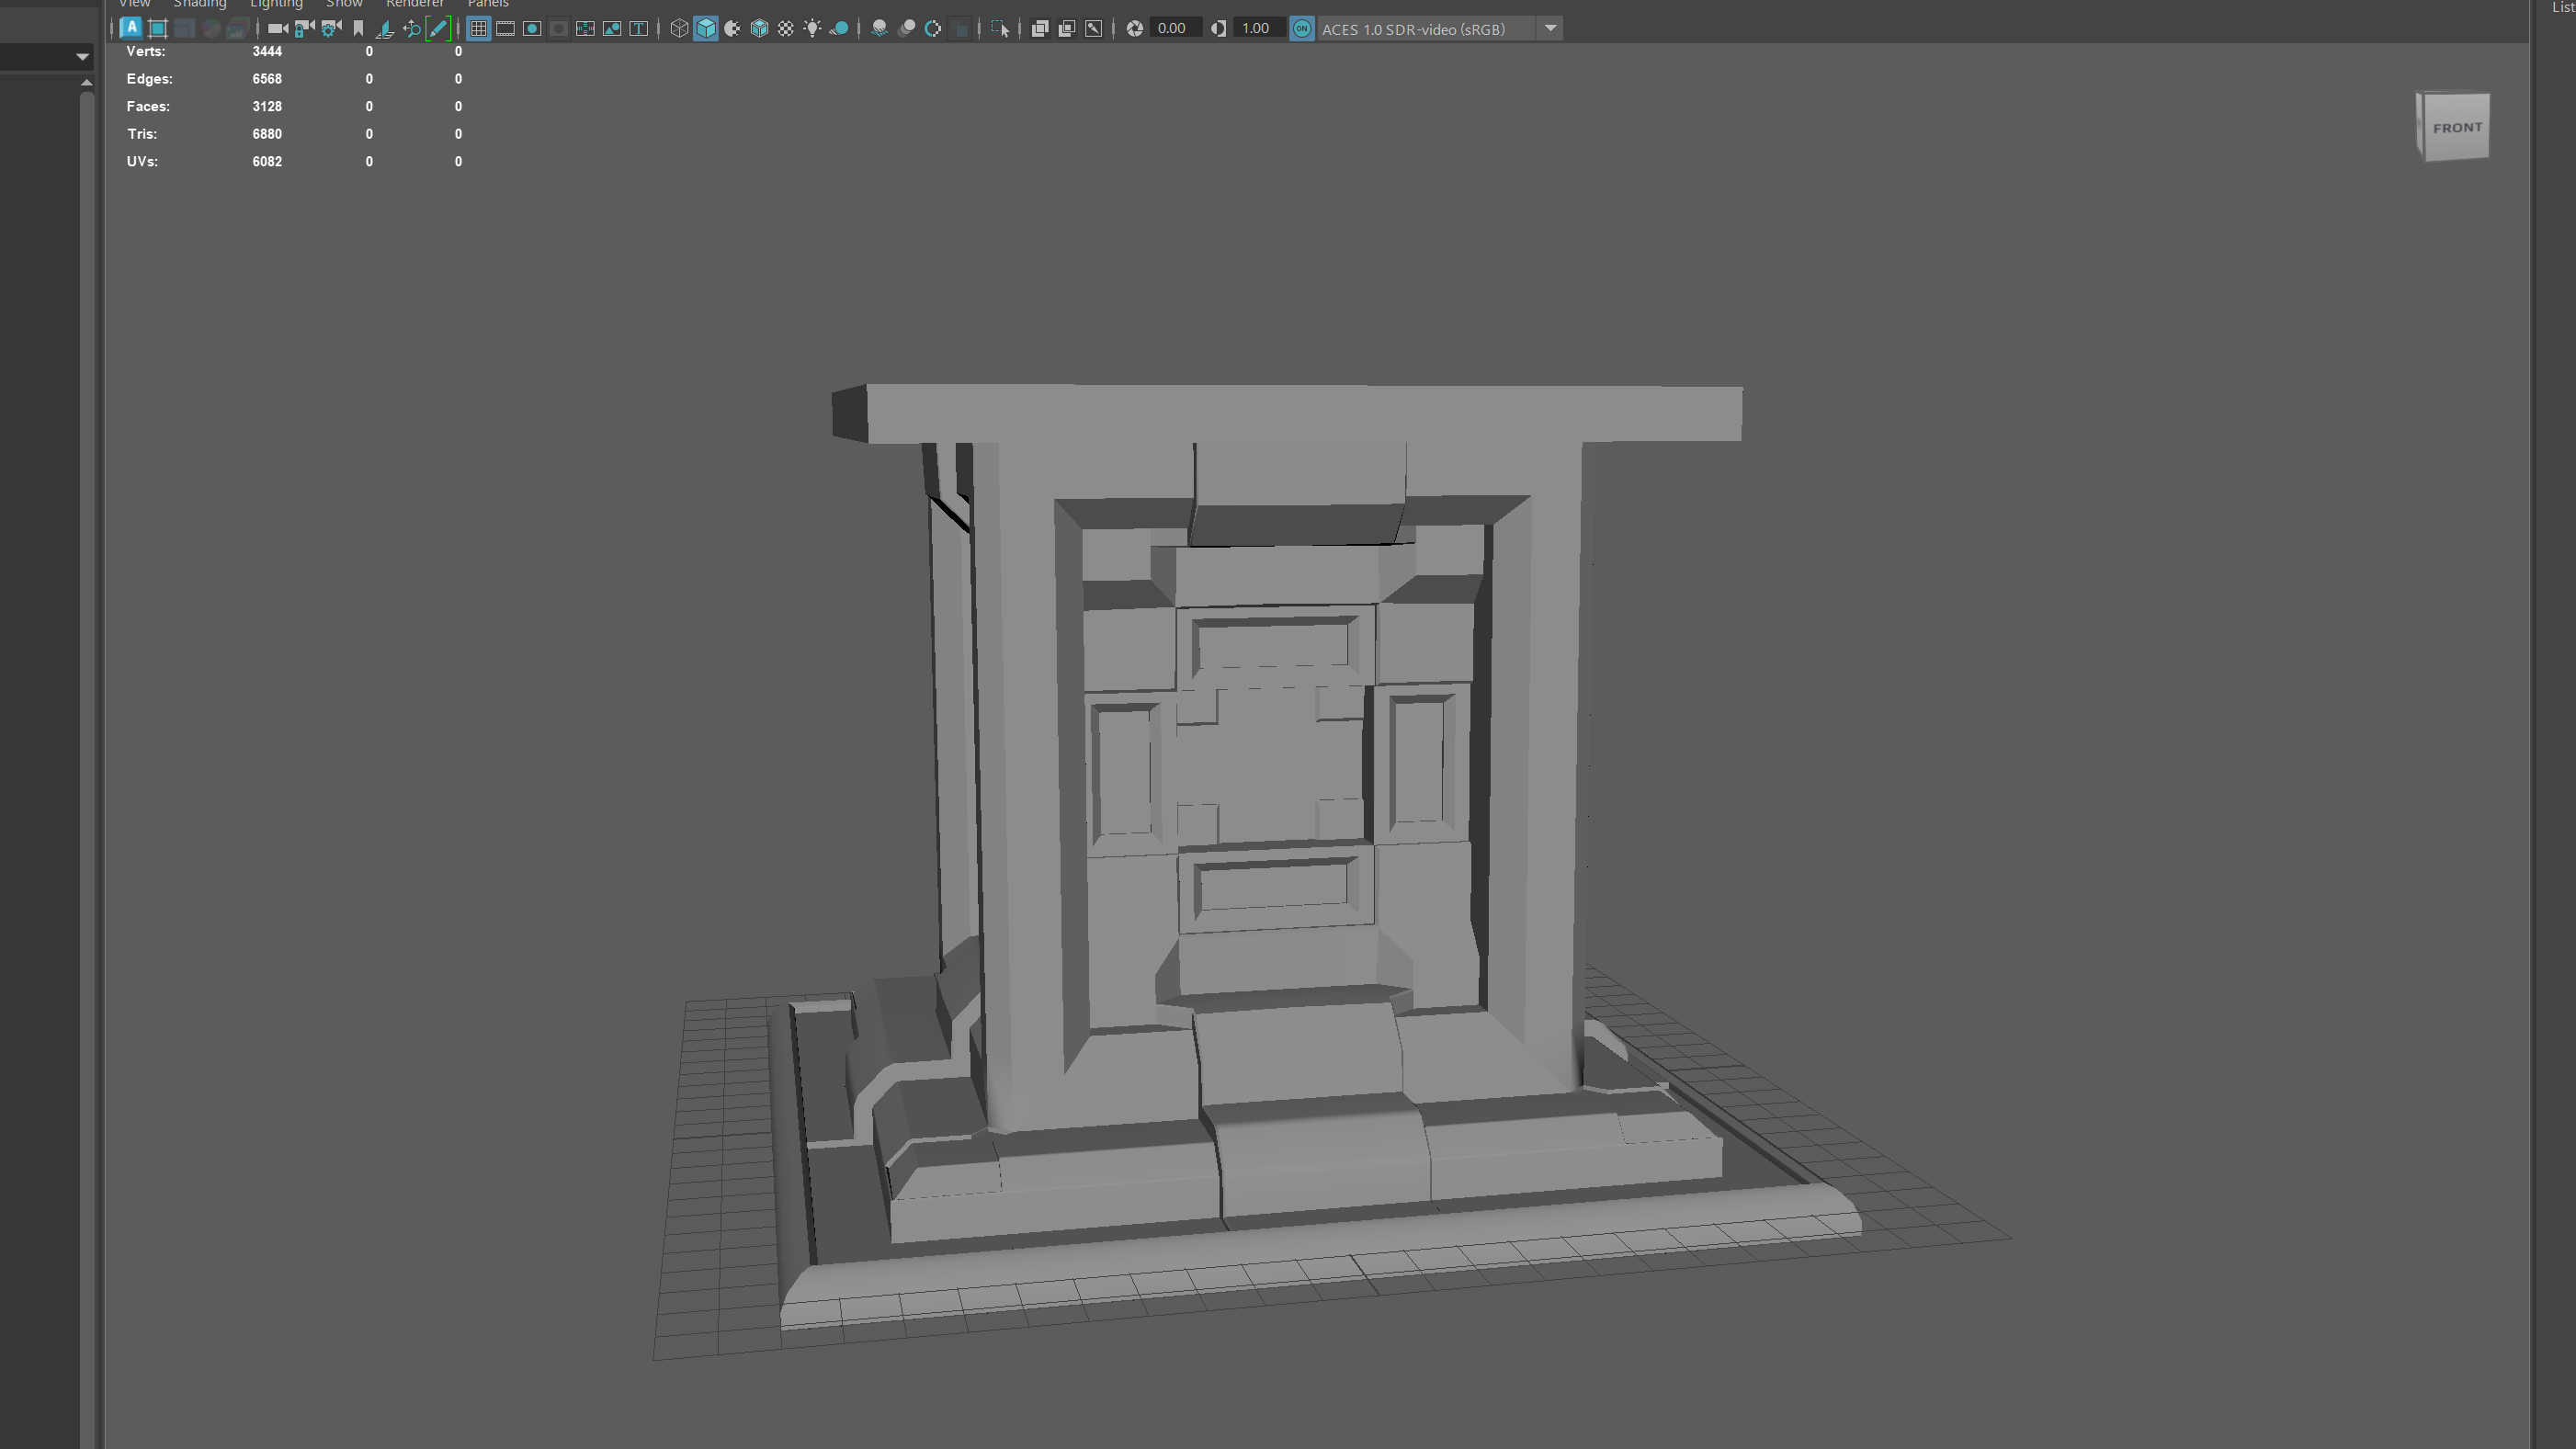
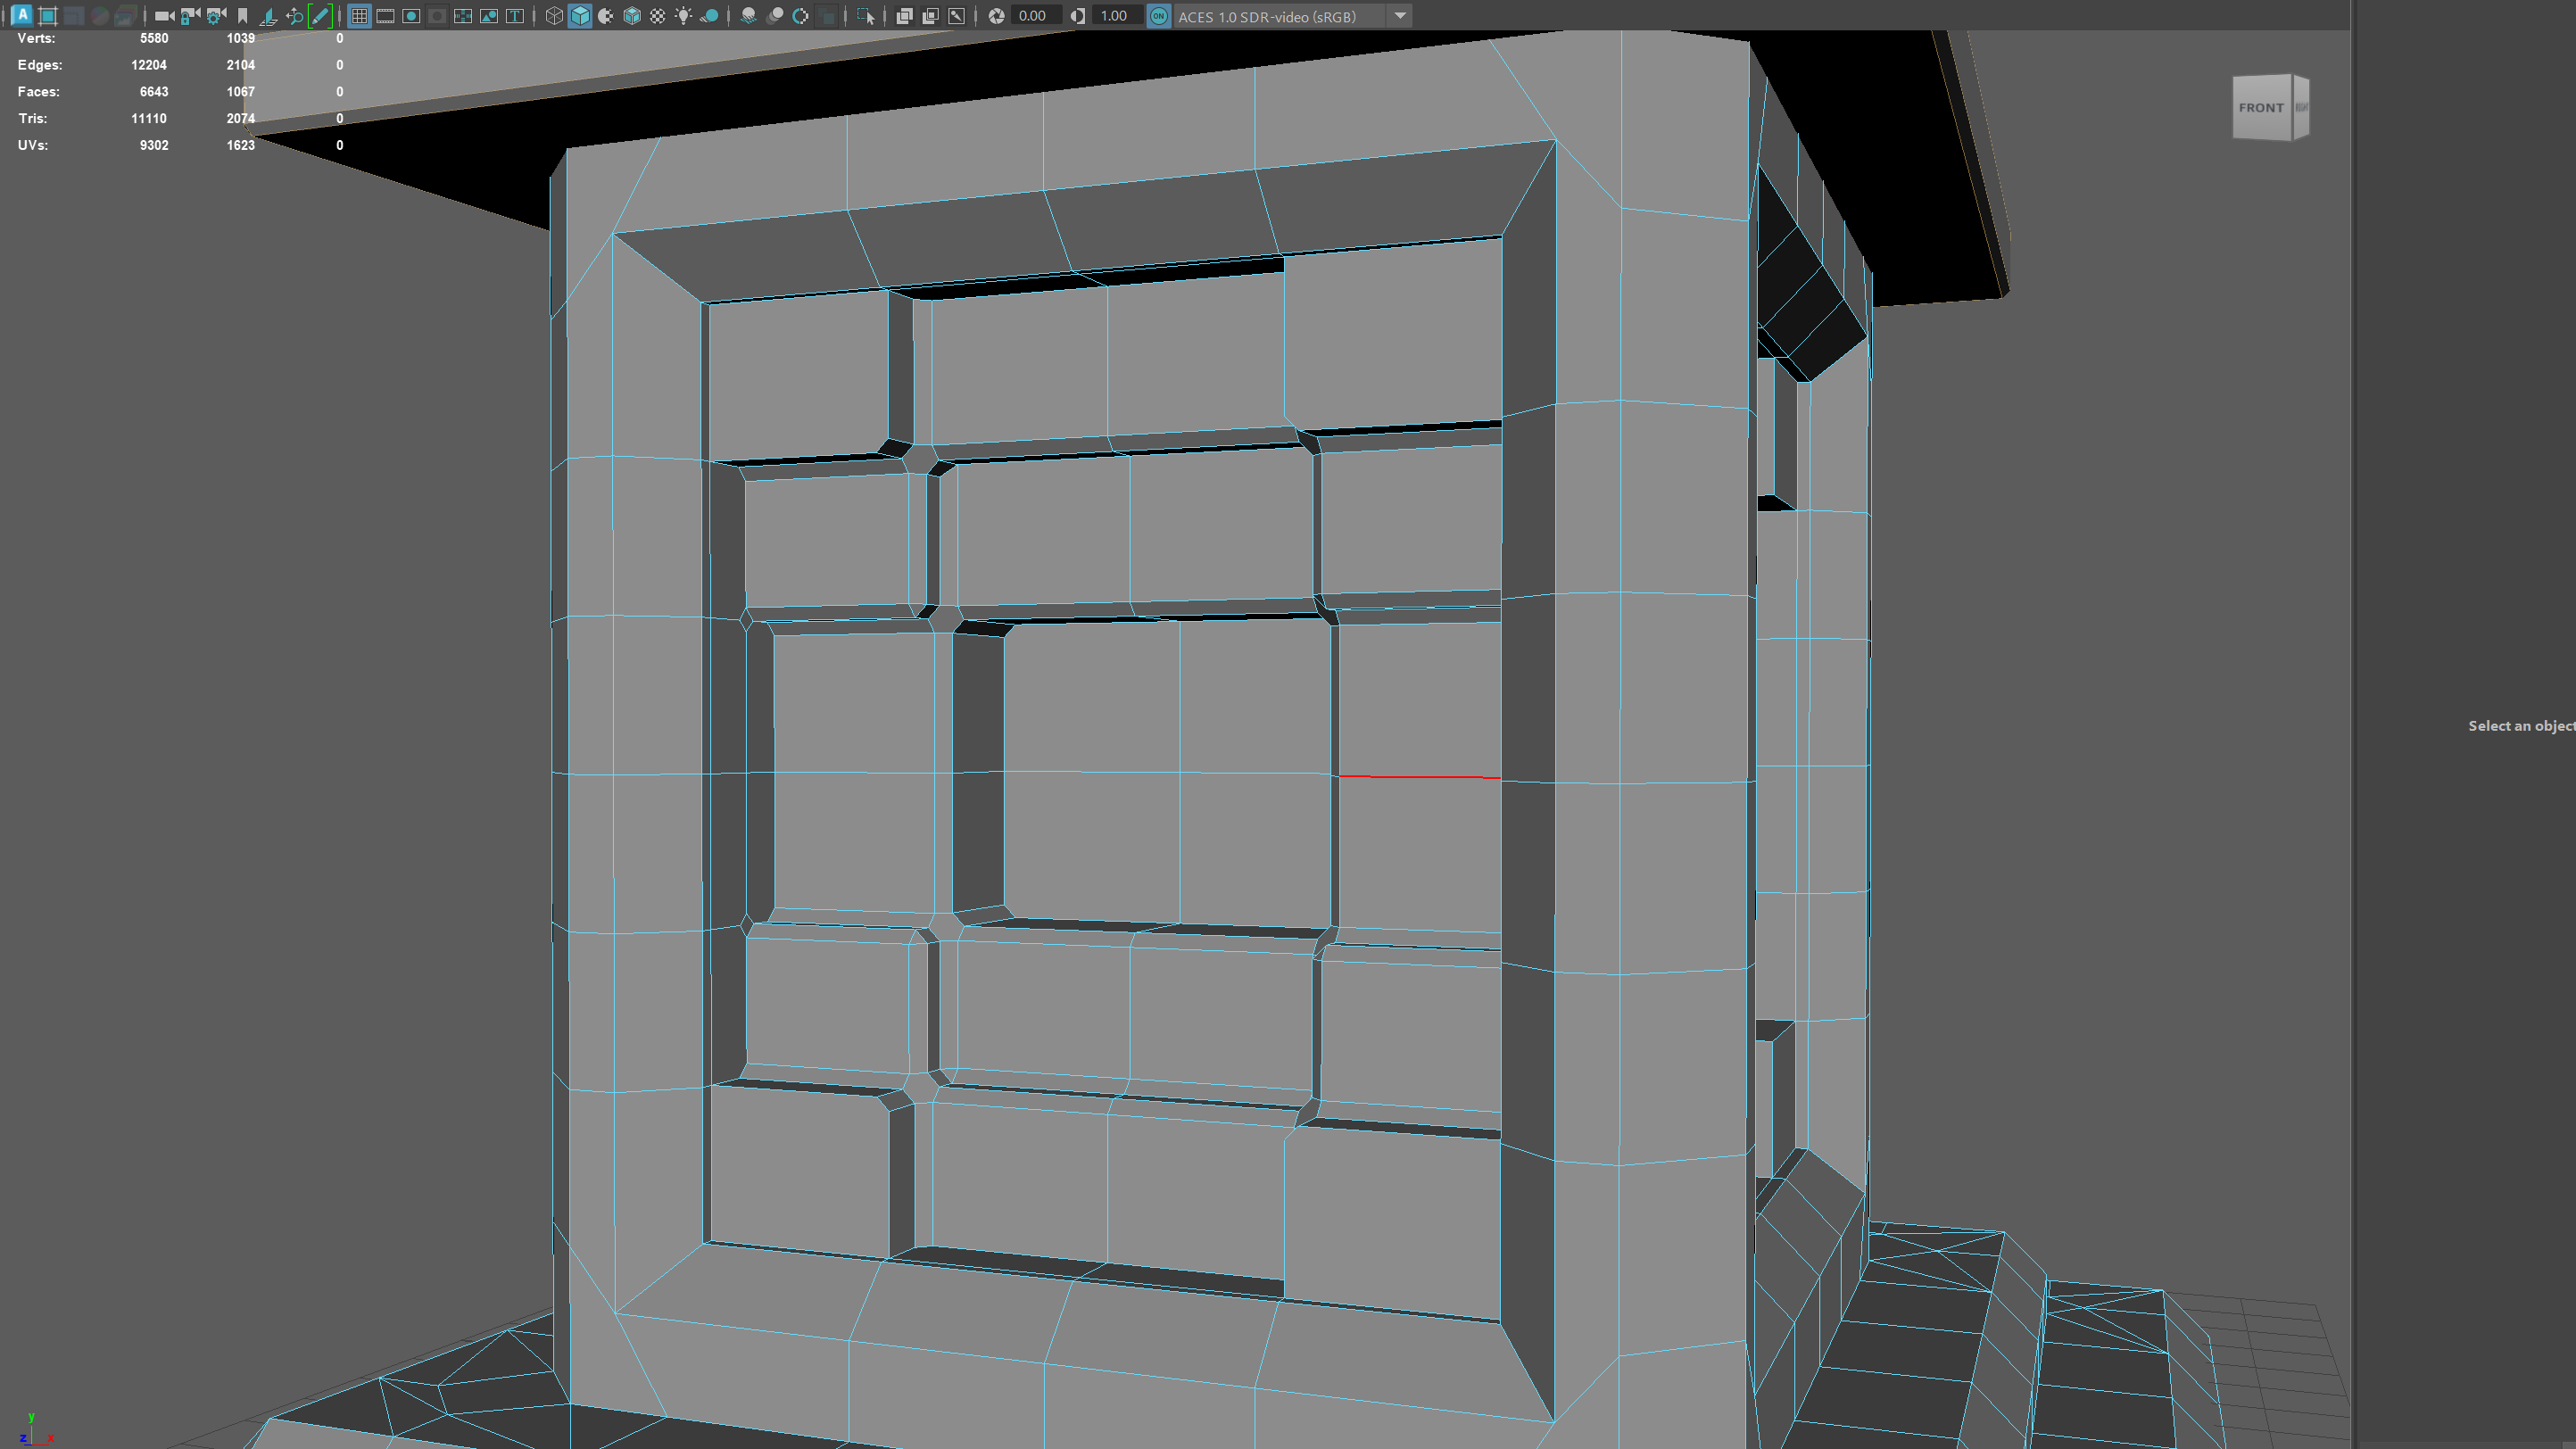
Once I had a blank slate to work with, I extruded inwards on each side to create a square indent, as well as bevelling the edges so there would be a slope along the edge. I also beveled the edges at the base of the cube so the edges would be less sharp and the incline towards the main cube would be more gradual.
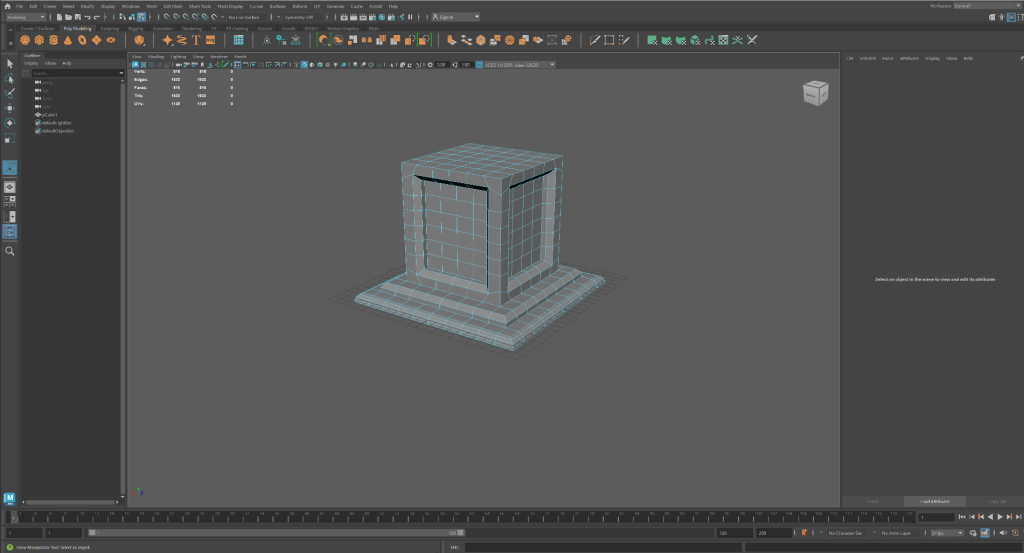
I then used a combination of bevel, extrude and multi-cut to create the design in the screenshot below. This design worked out well in appearance, as it provides a good level of detail to the asset and makes it interesting to look at due to there being much more depth than before. One mistake I made during this process was that I wasn’t actively checking for n-gons or overlapping edges and vertices. This was an issue that arose later but I kept developing my asset until I realised my error.
After using the multi-cut tool in order to add more polys and then more depth with extrude, I thought that I was finished with creating the base of my asset. after asking some of my peers and Dan to check over my asset so far, it turned out that the inside of my asset was full of overlapping faces, edges and vertices. I did attempt to fix this with the help of Dan and Elliott, but there was simply too much that wasn’t working within the asset so I made the decision to recreate what I had just done, but this time with more care and attention to the inside of my asset to avoid future problems like this.
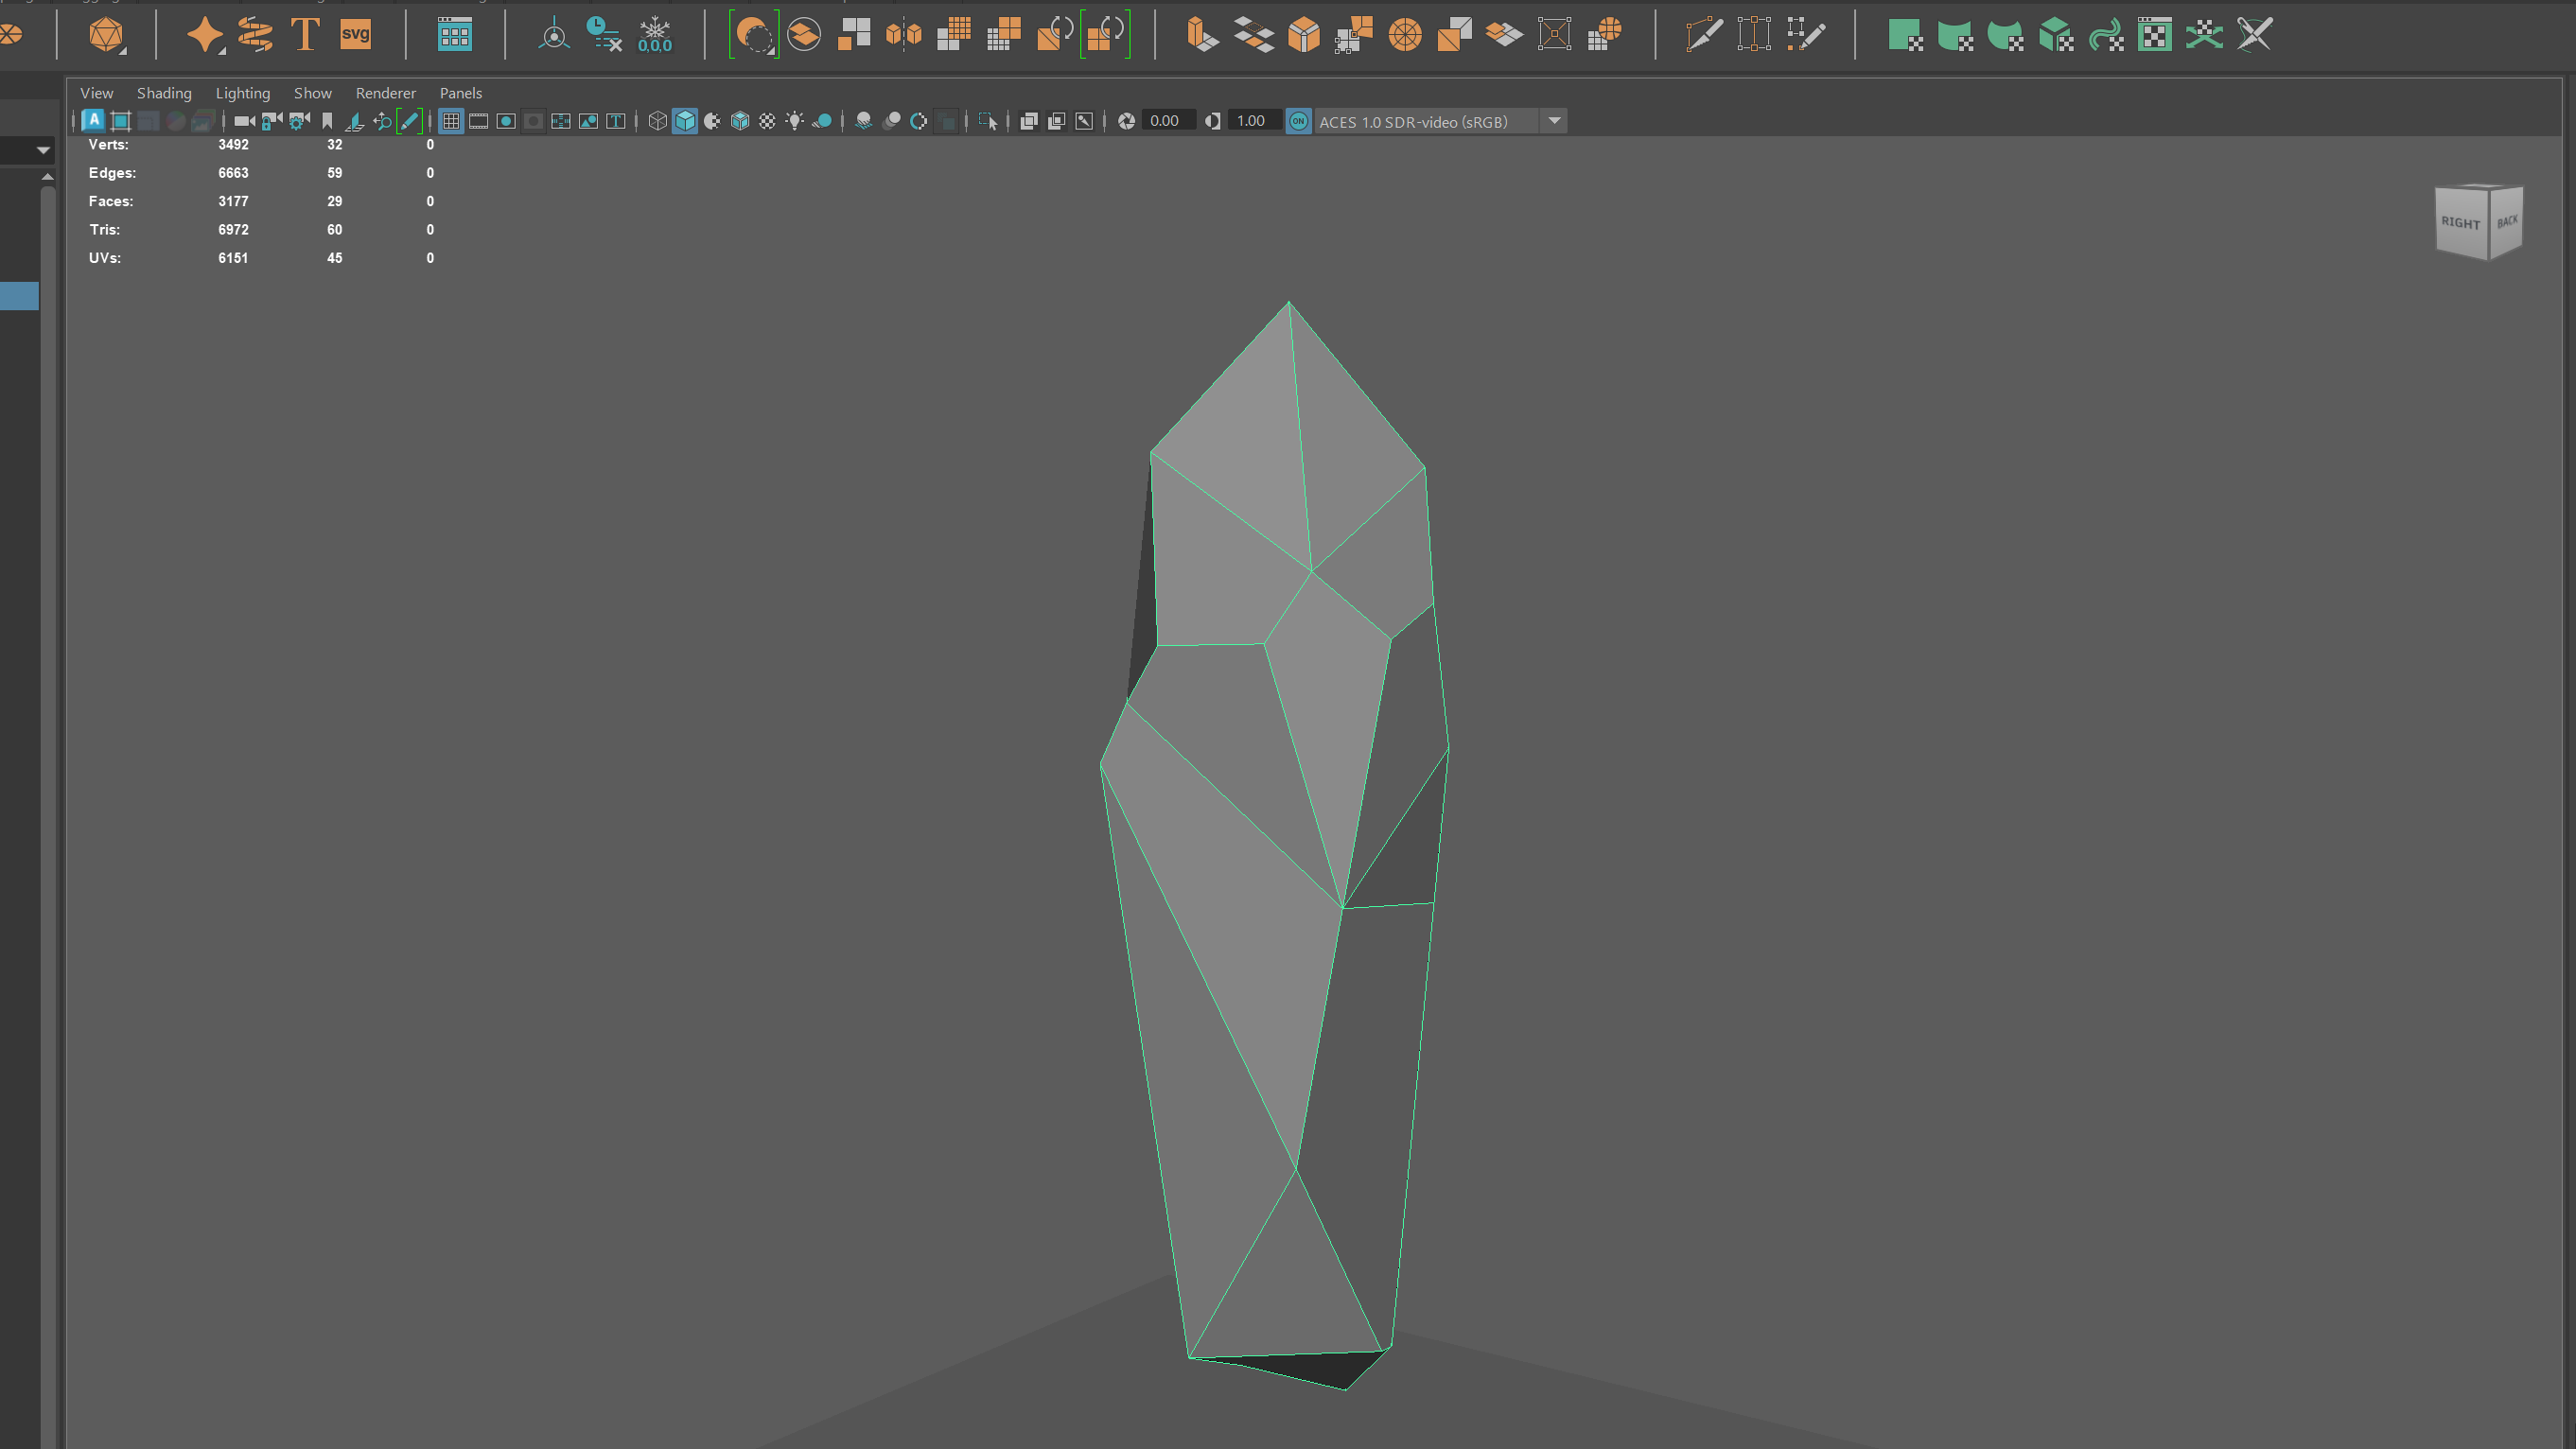
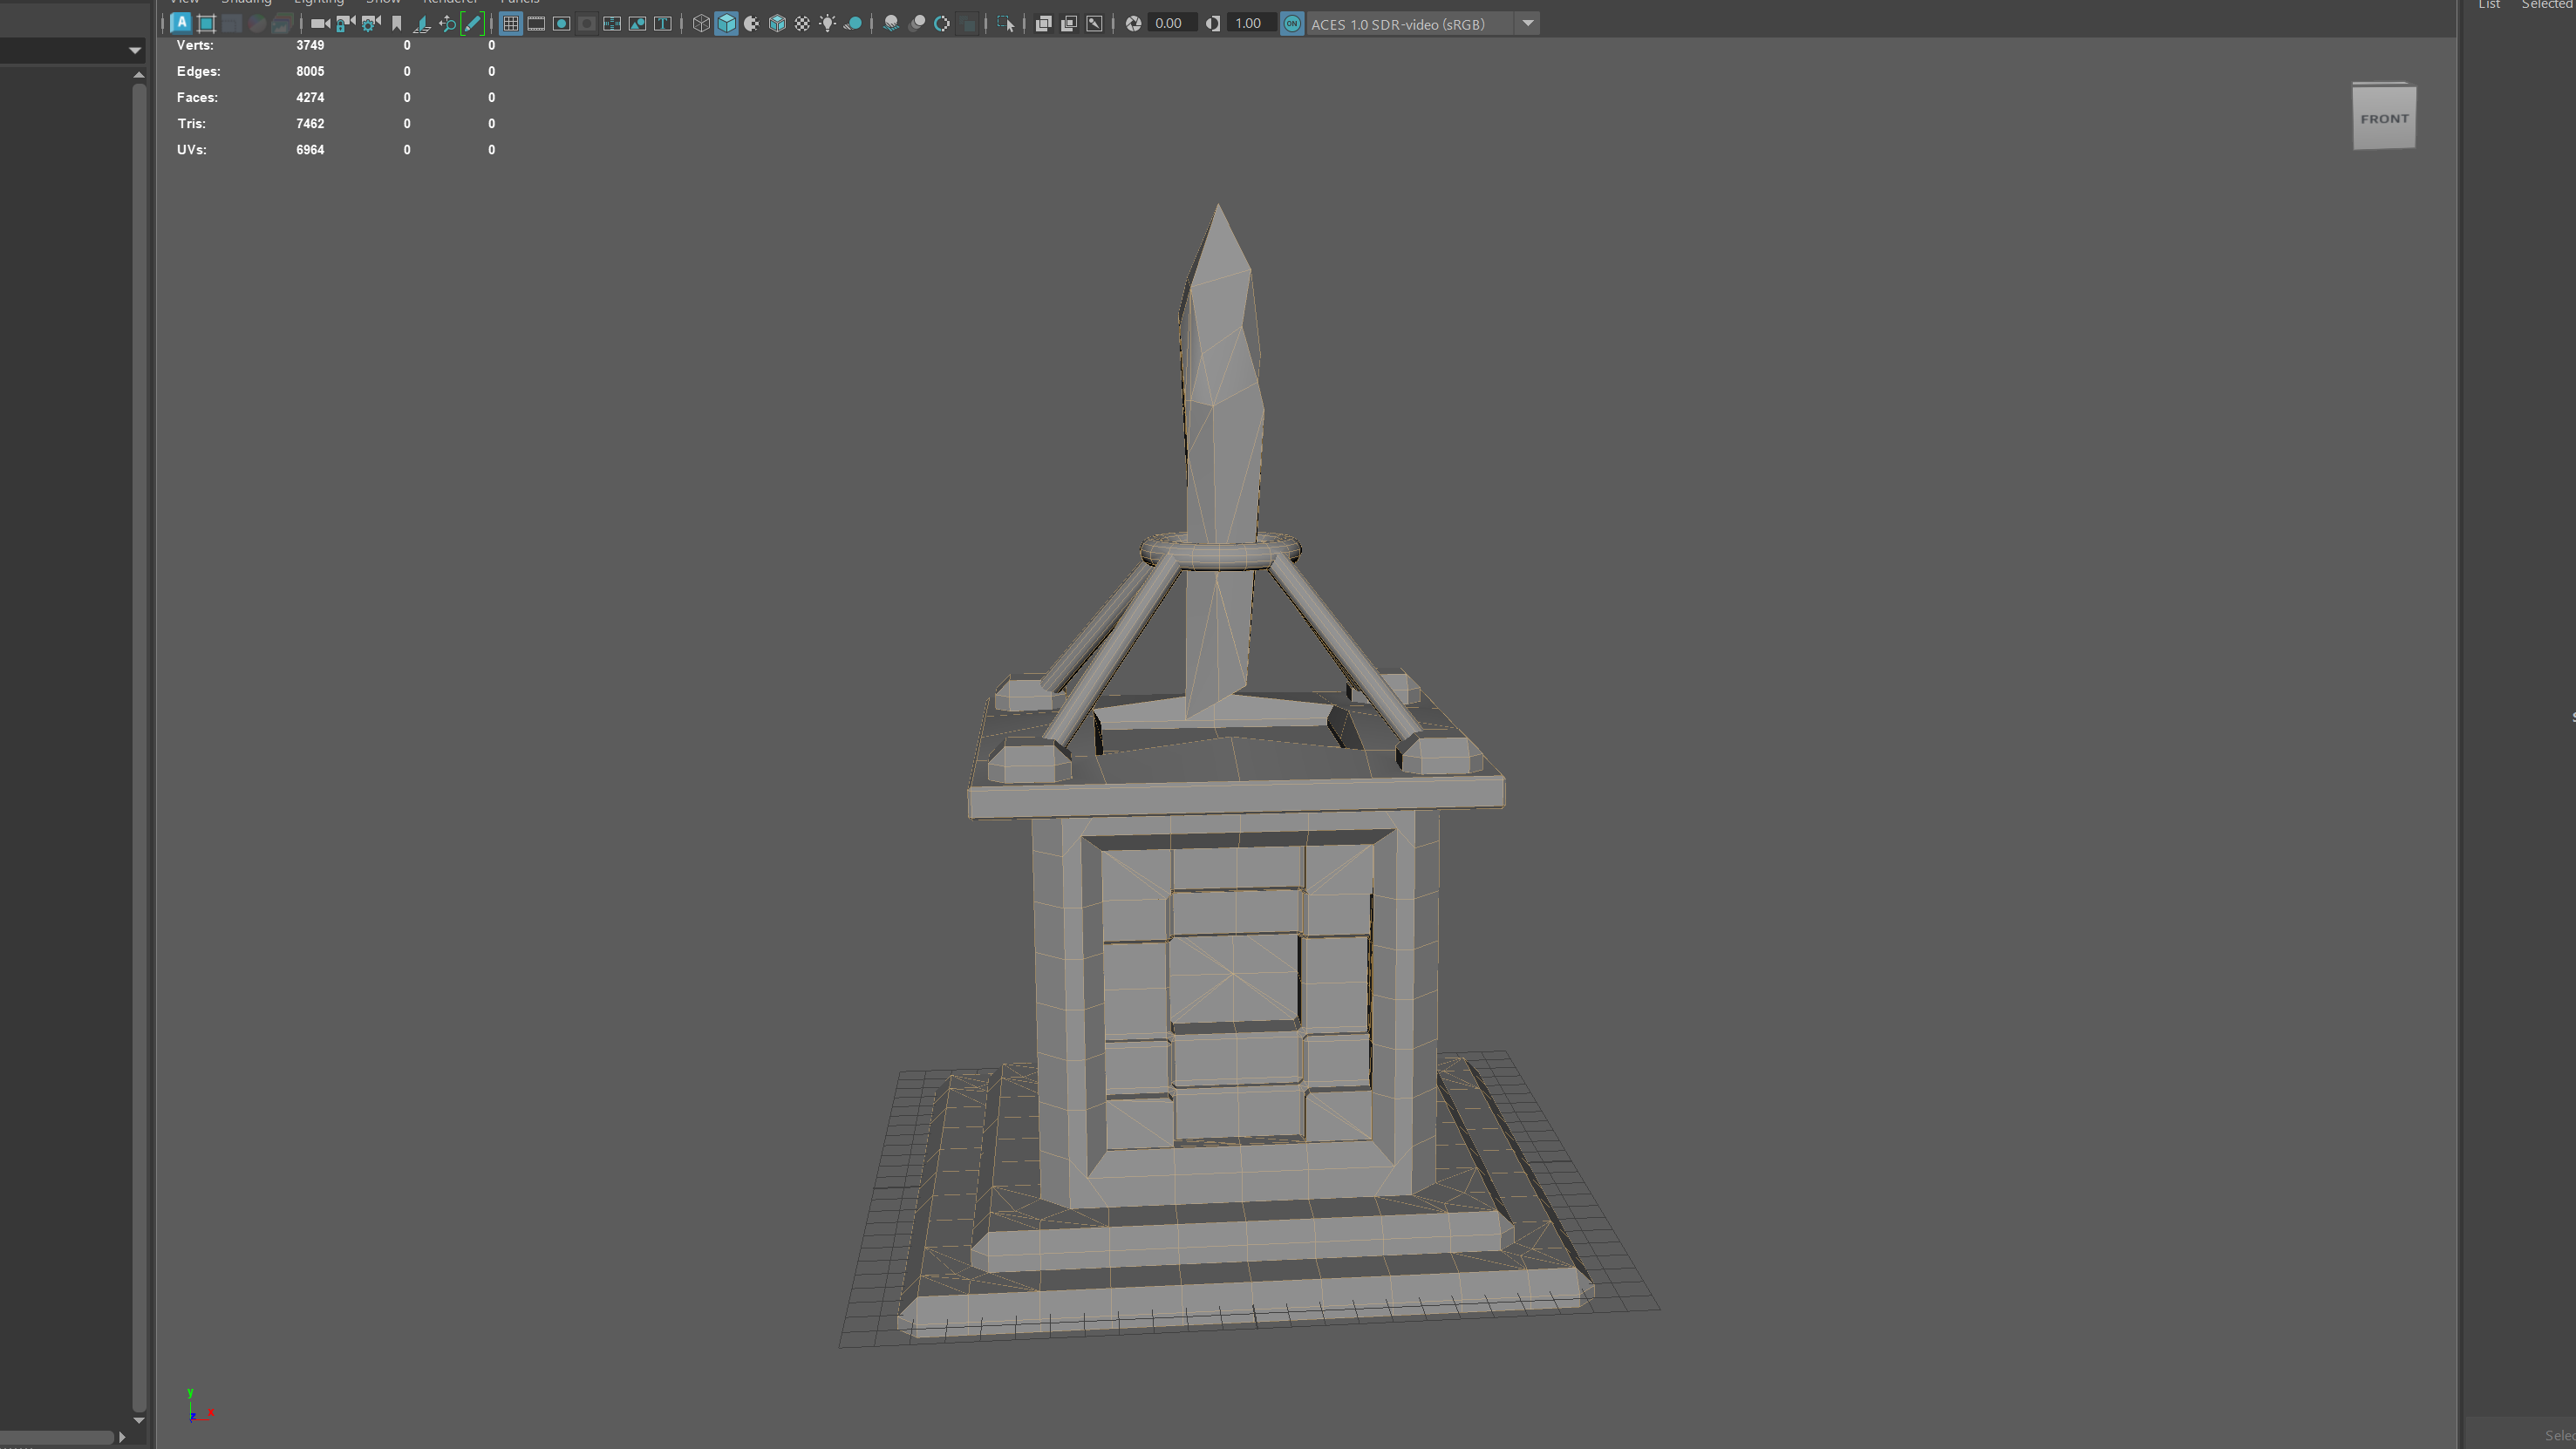
Before I started that task though, I decided to create the crystal part of the asset. I started by creating the crystal itself, allowing me to make it look how I had planned before adding the surrounding stand to hold it up on the pedestal. I used a combination of bevelling and just deleting vertices to create a jagged look, but also using cleanup throughout the process to make sure the same mistakes weren’t happening again. Despite most of my worry before creating this asset being about the crystal not working correctly, it was arguably the easiest part of the entire process.
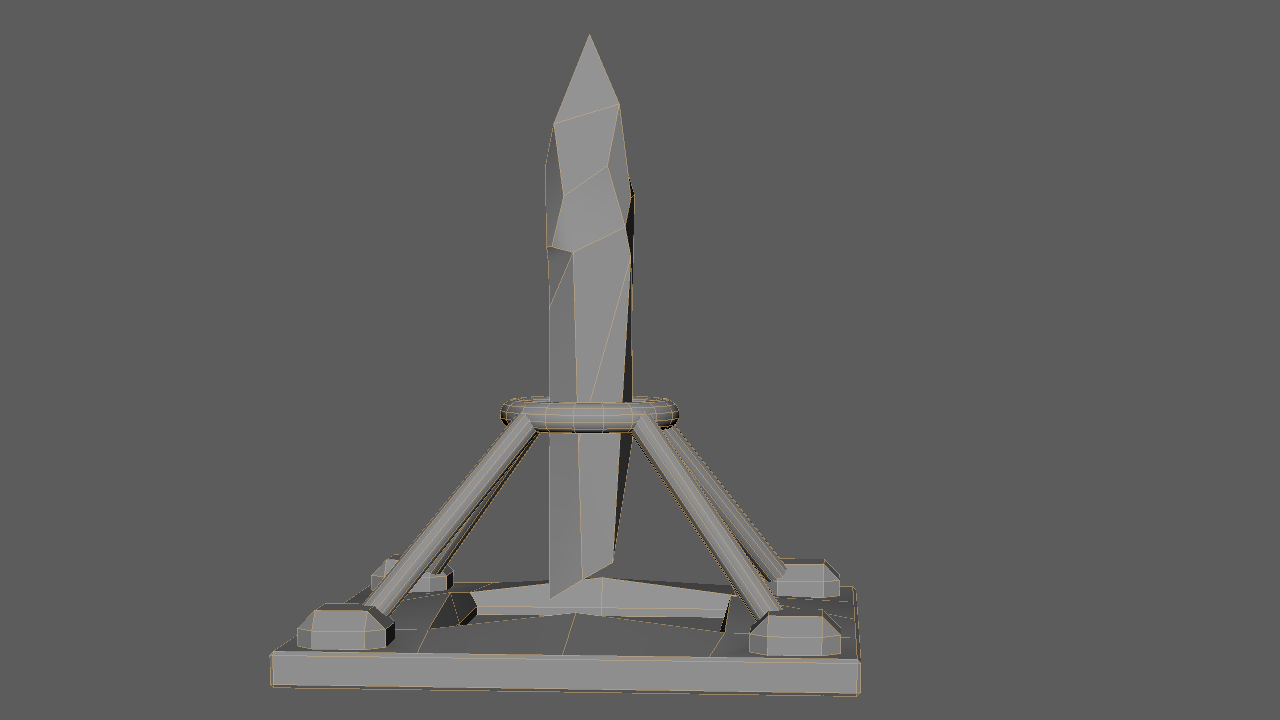
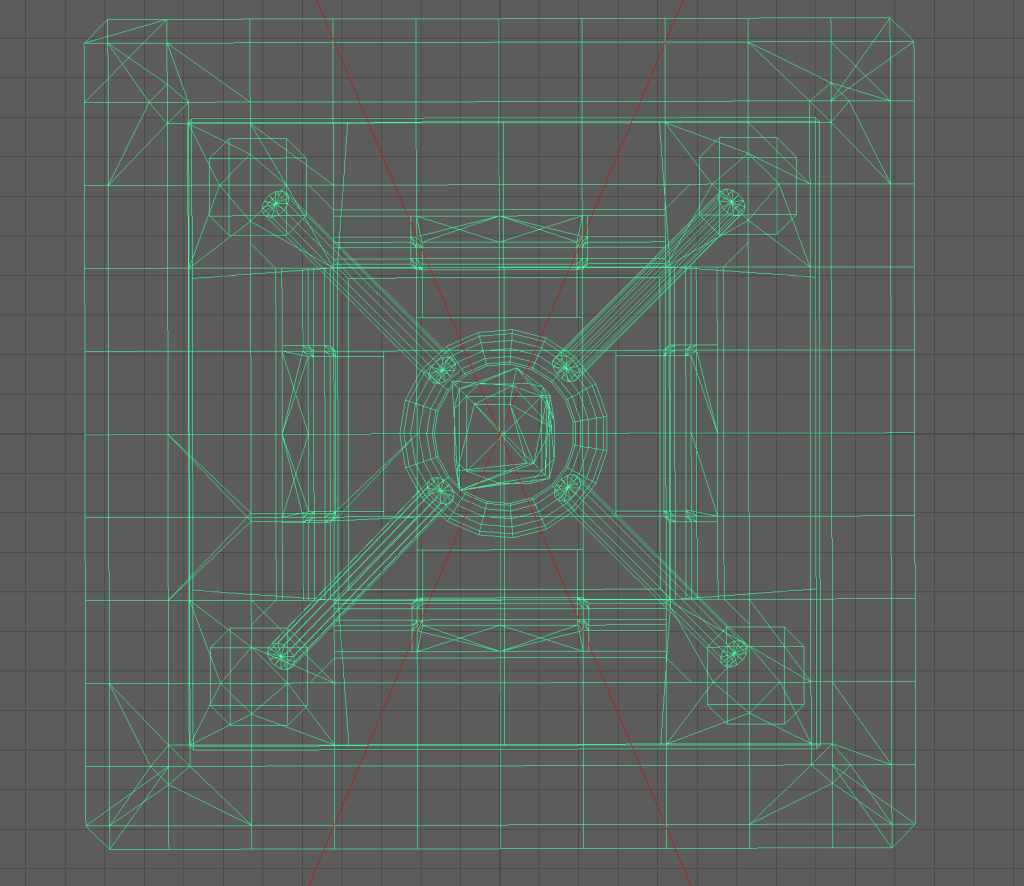
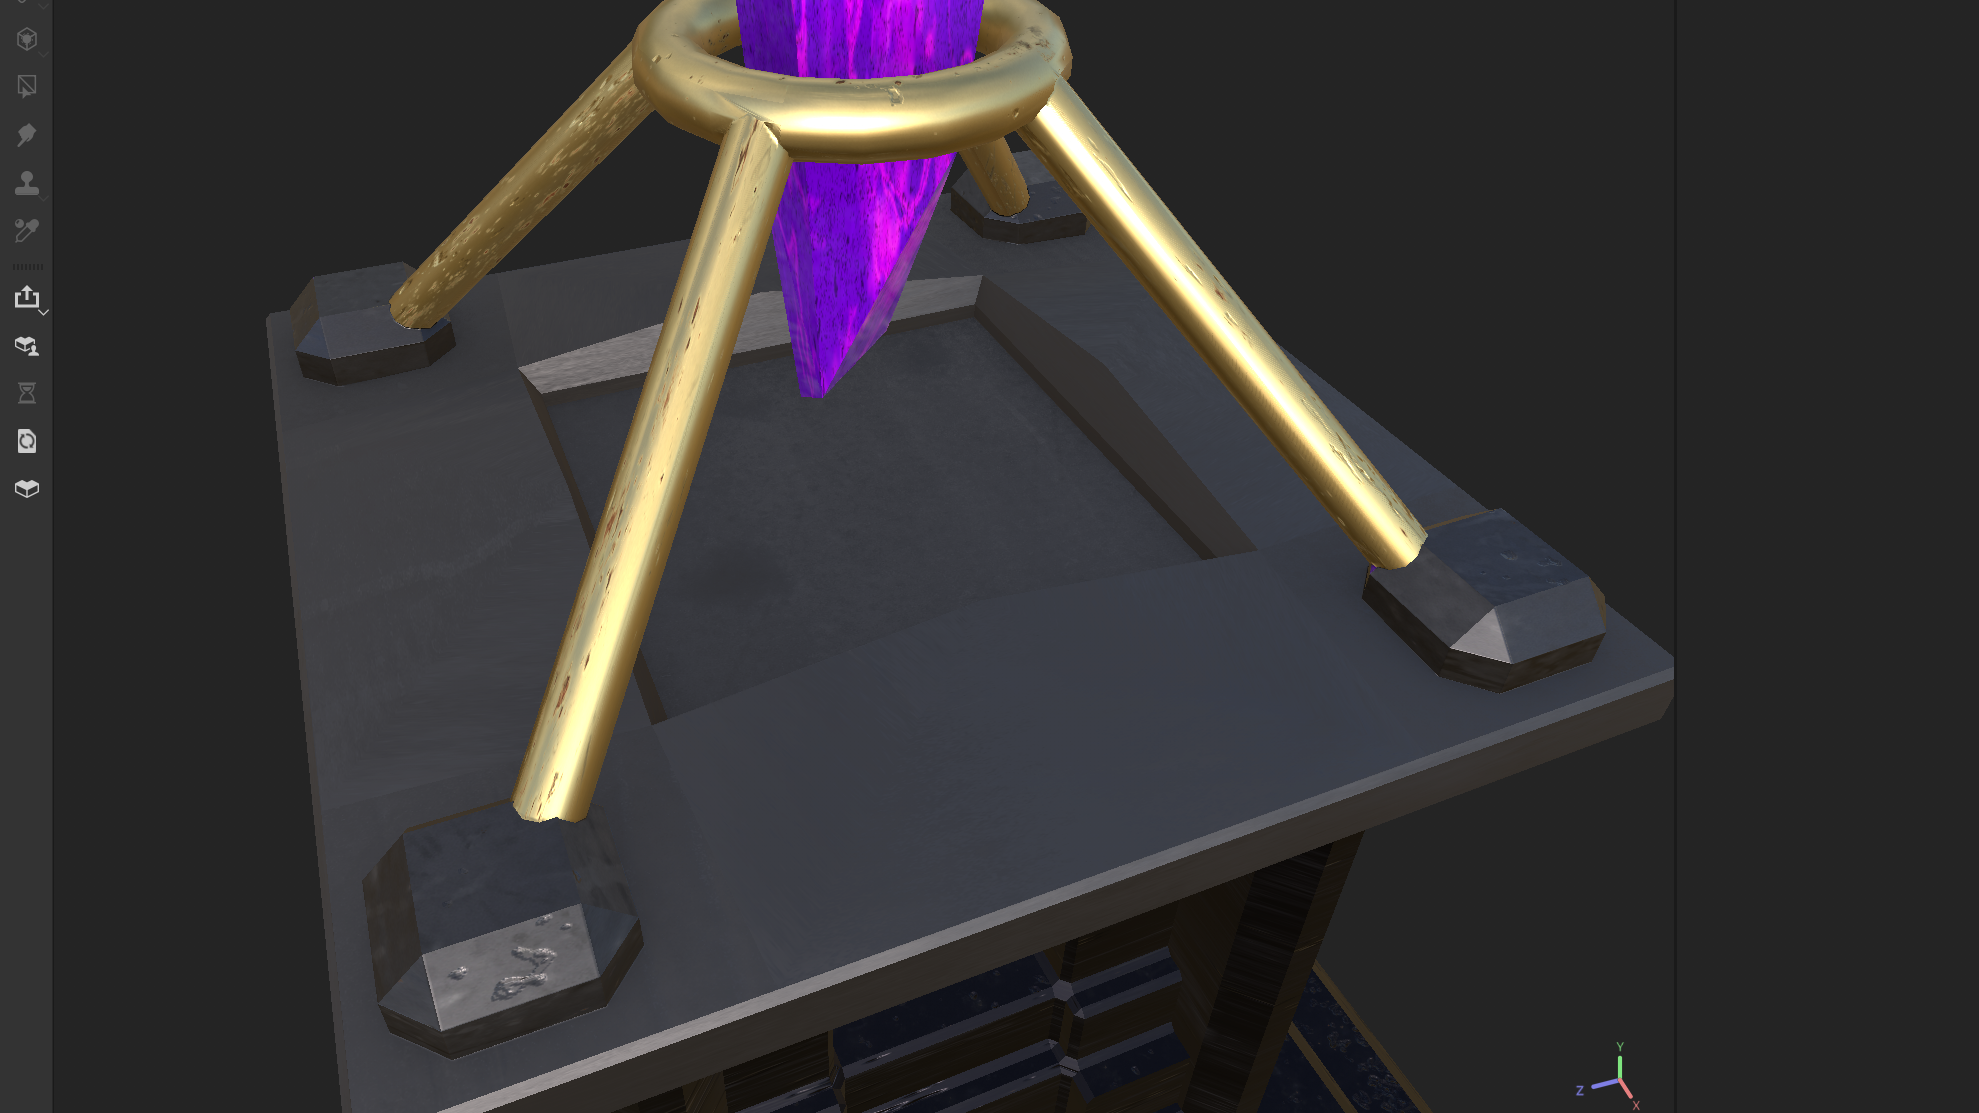
For the stand, I wanted it to consist of a ring around the crystal itself, with four legs for a stand attached to the top of the pedestal. I started by adding a torus around the crystal, adjusting the width to what I wanted and making sure that it wasn’t clipping into the crystal. I then added four cubes to each of the corners of the top for the stand to start from, bevelling the top edges of each to create the look I intended to. To add some extra detail, I also decided to extrude the middle of the top inwards and I bevelled those edges as well.
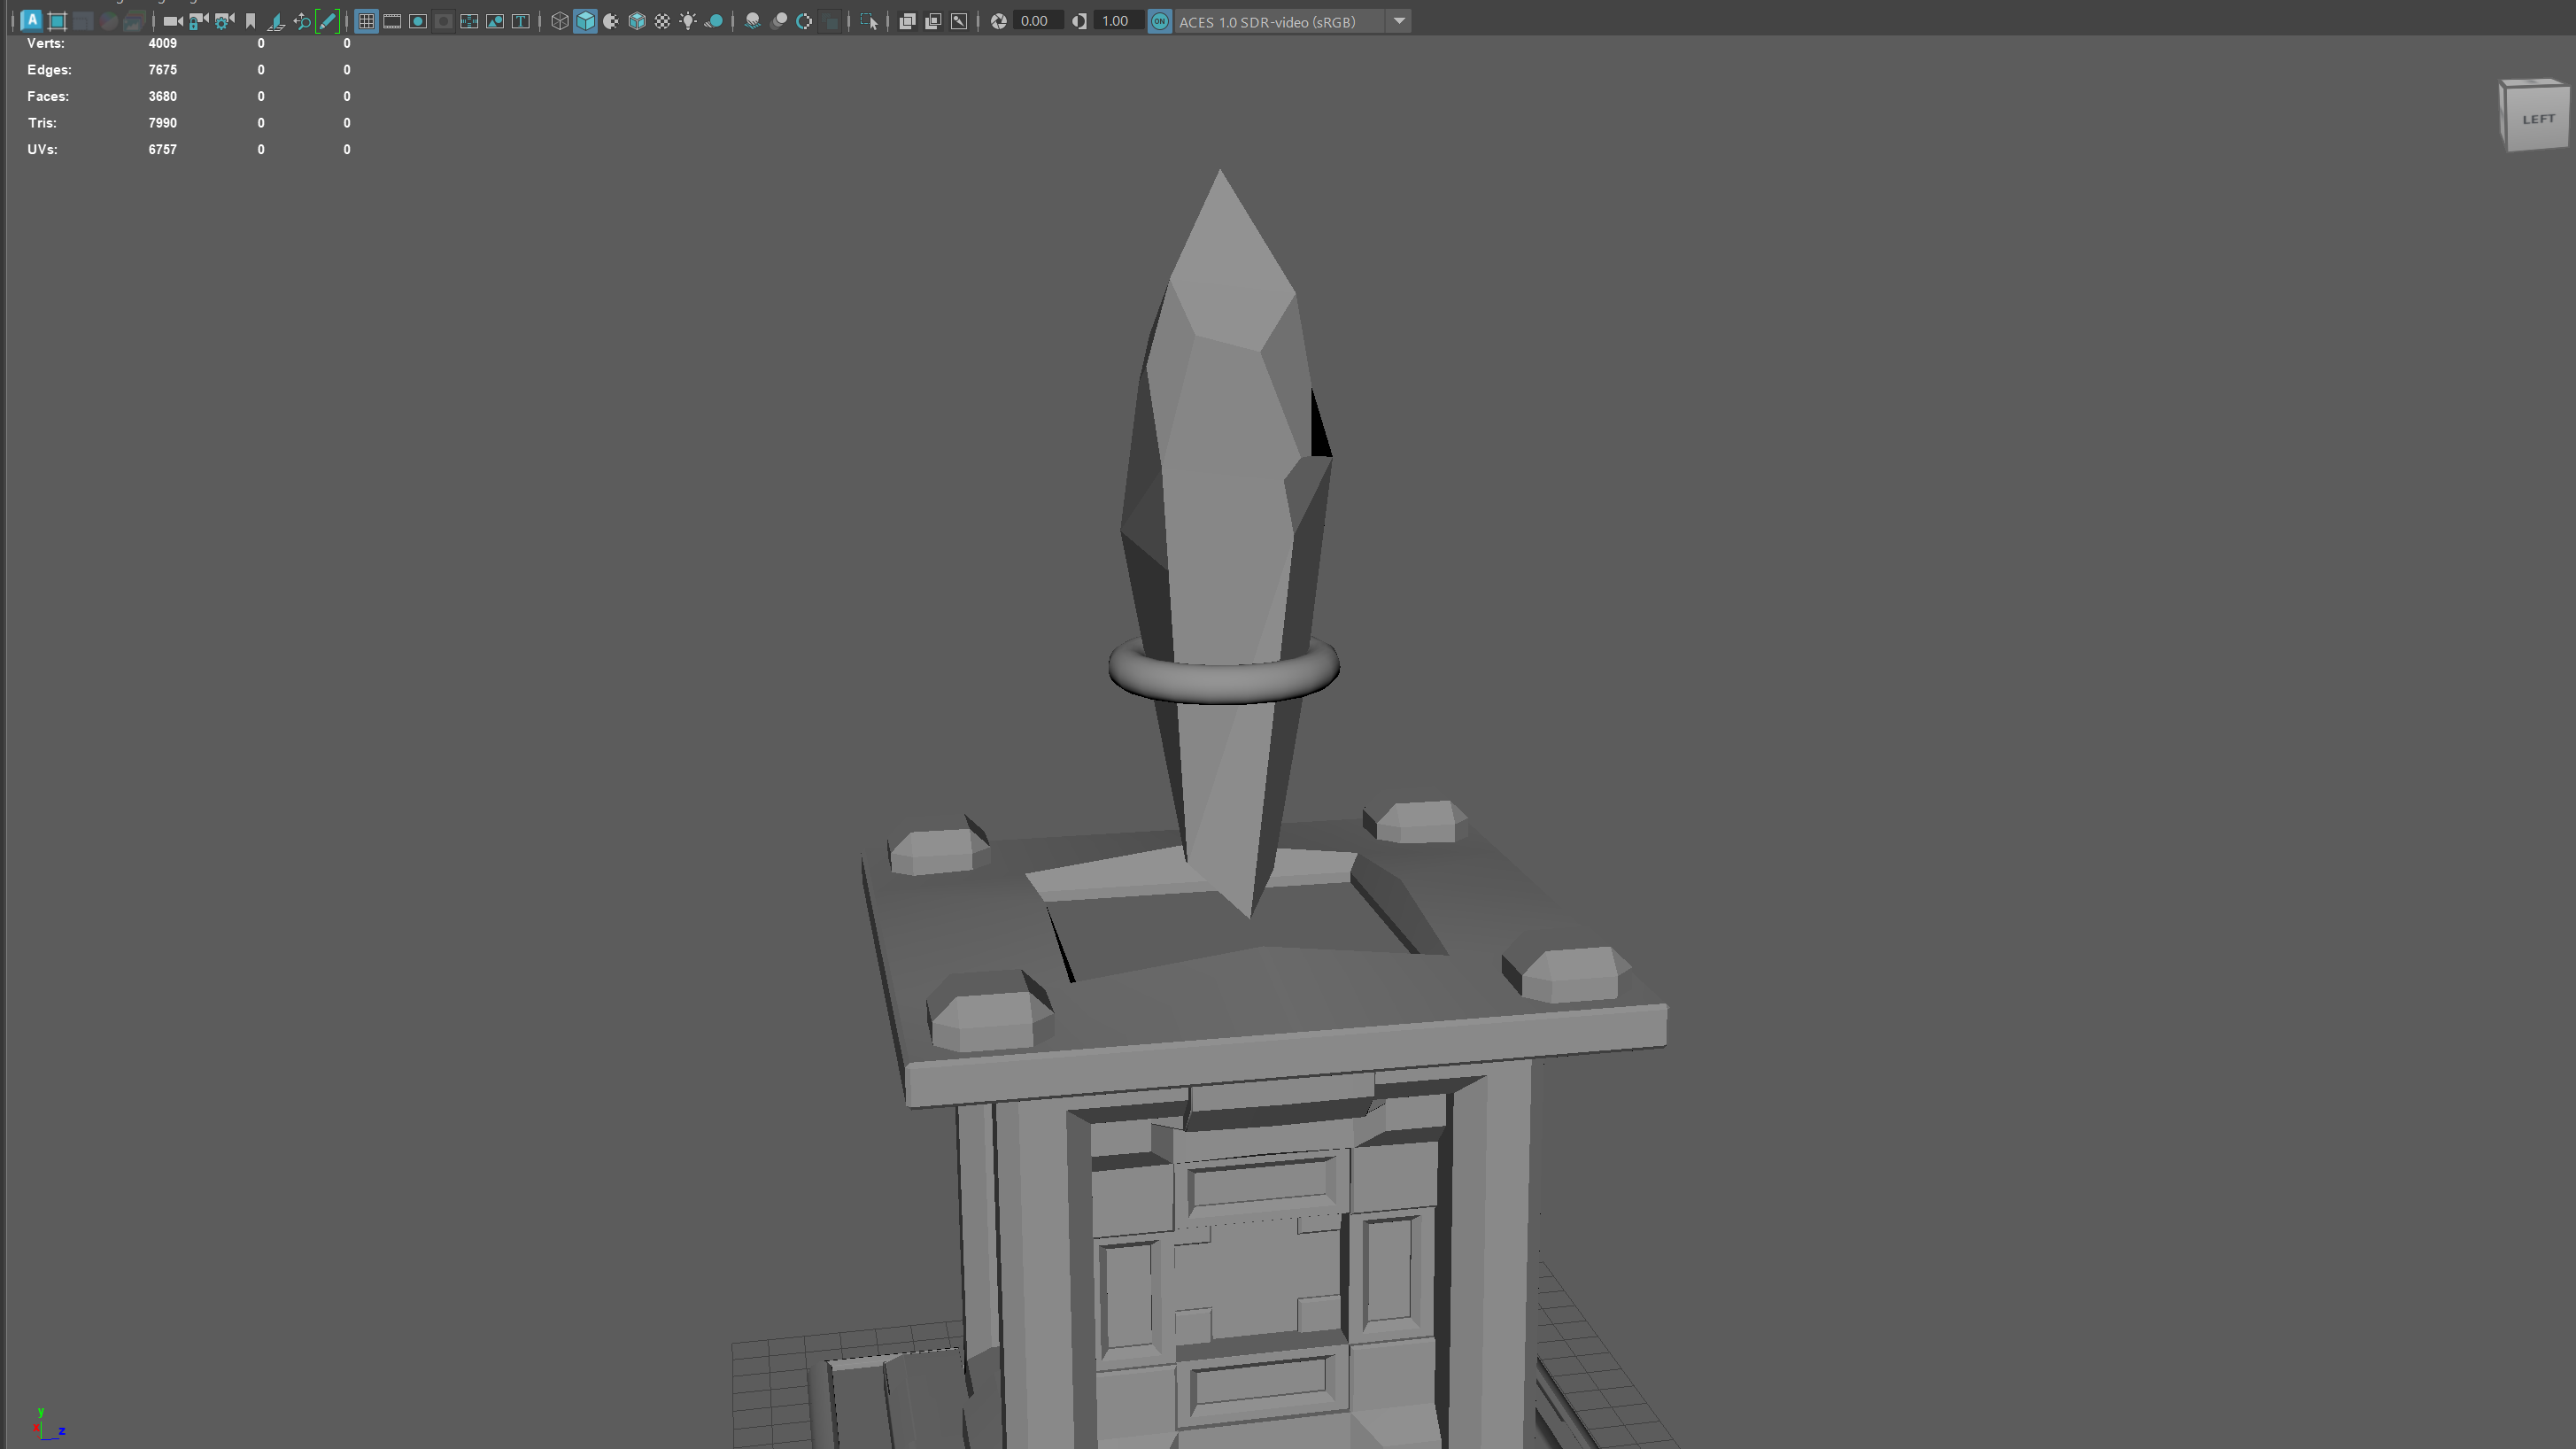
I then added cylinders to create the last part of the stand, lowering the poly count first, but making sure not to lower it too much which would make the edges on the cylinder too sharp and not curved. I made sure that none of these separate meshes clipped in a way that would break the asset and that it was to my liking, then I started work on recreating the main pedestal.
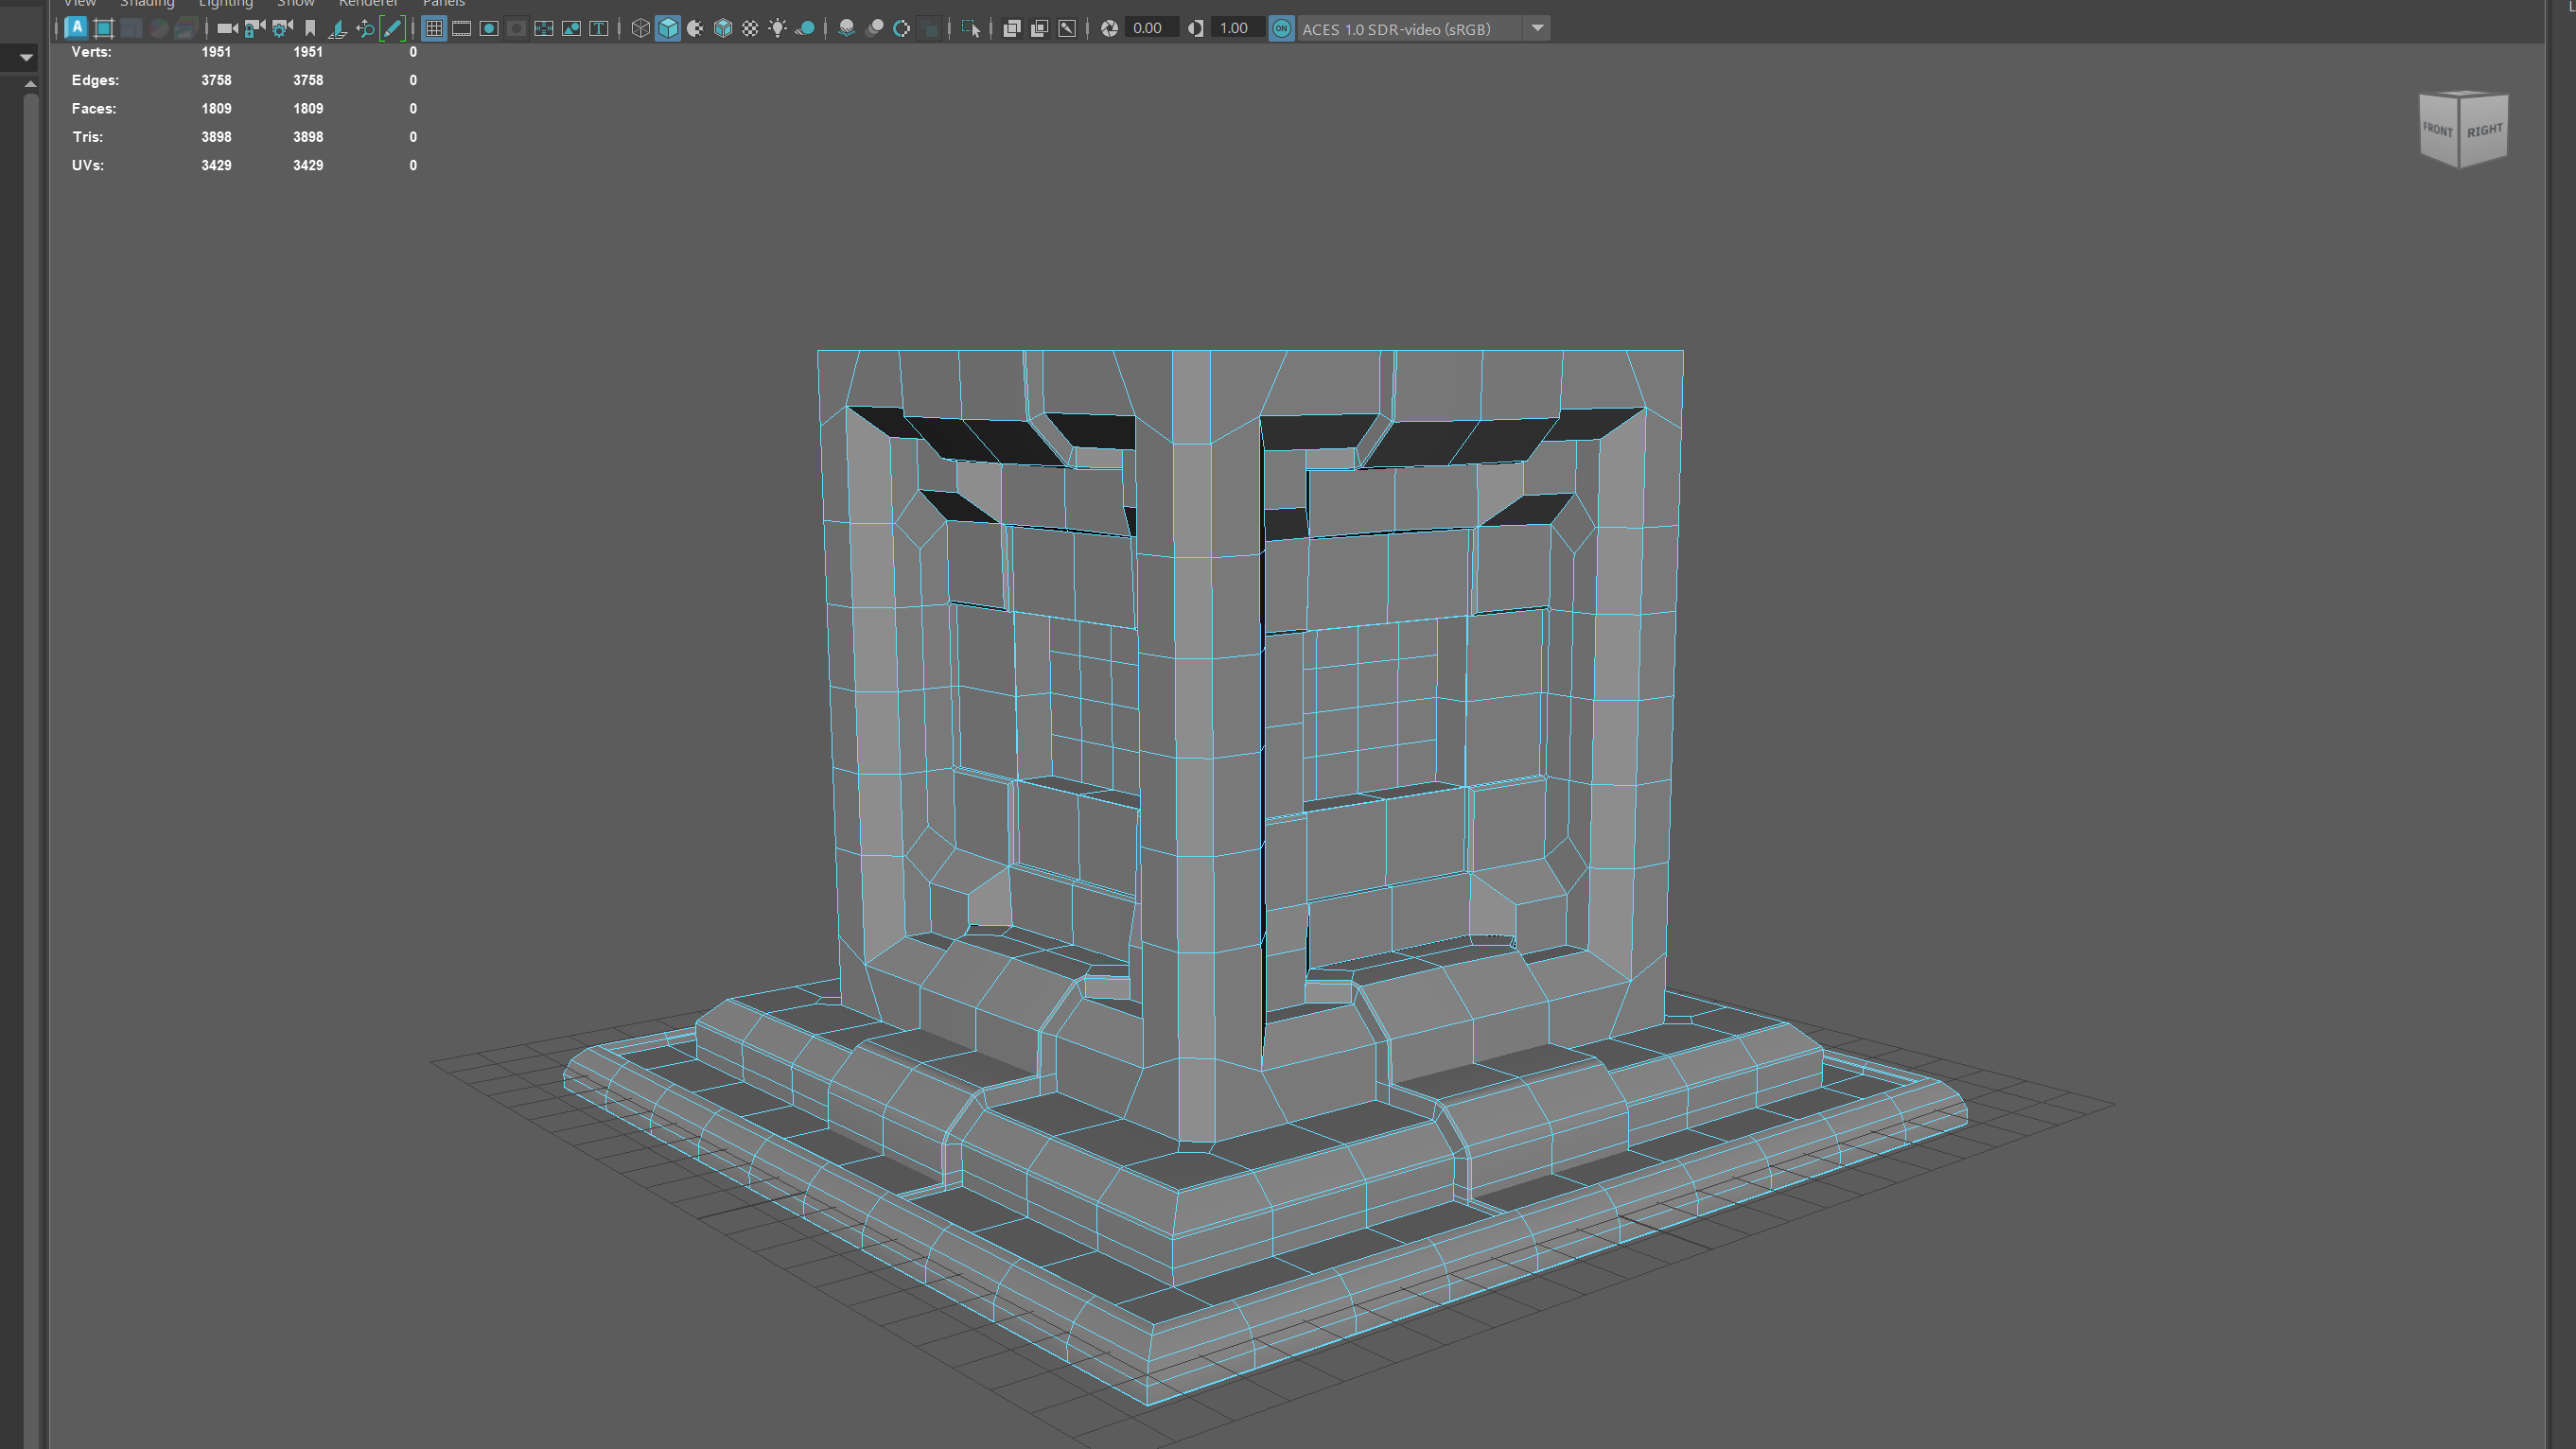
I initially started recreating the base in the same way that I started originally, taking more time with extruding in and out to avoid the same errors as last time. It was at this stage where I decided to take a simpler approach to designing the sides, as most of my issues were used by over extruding. I still wanted the new version to look somewhat similar to the original, but at this point, I was favouring functionality over appearance.
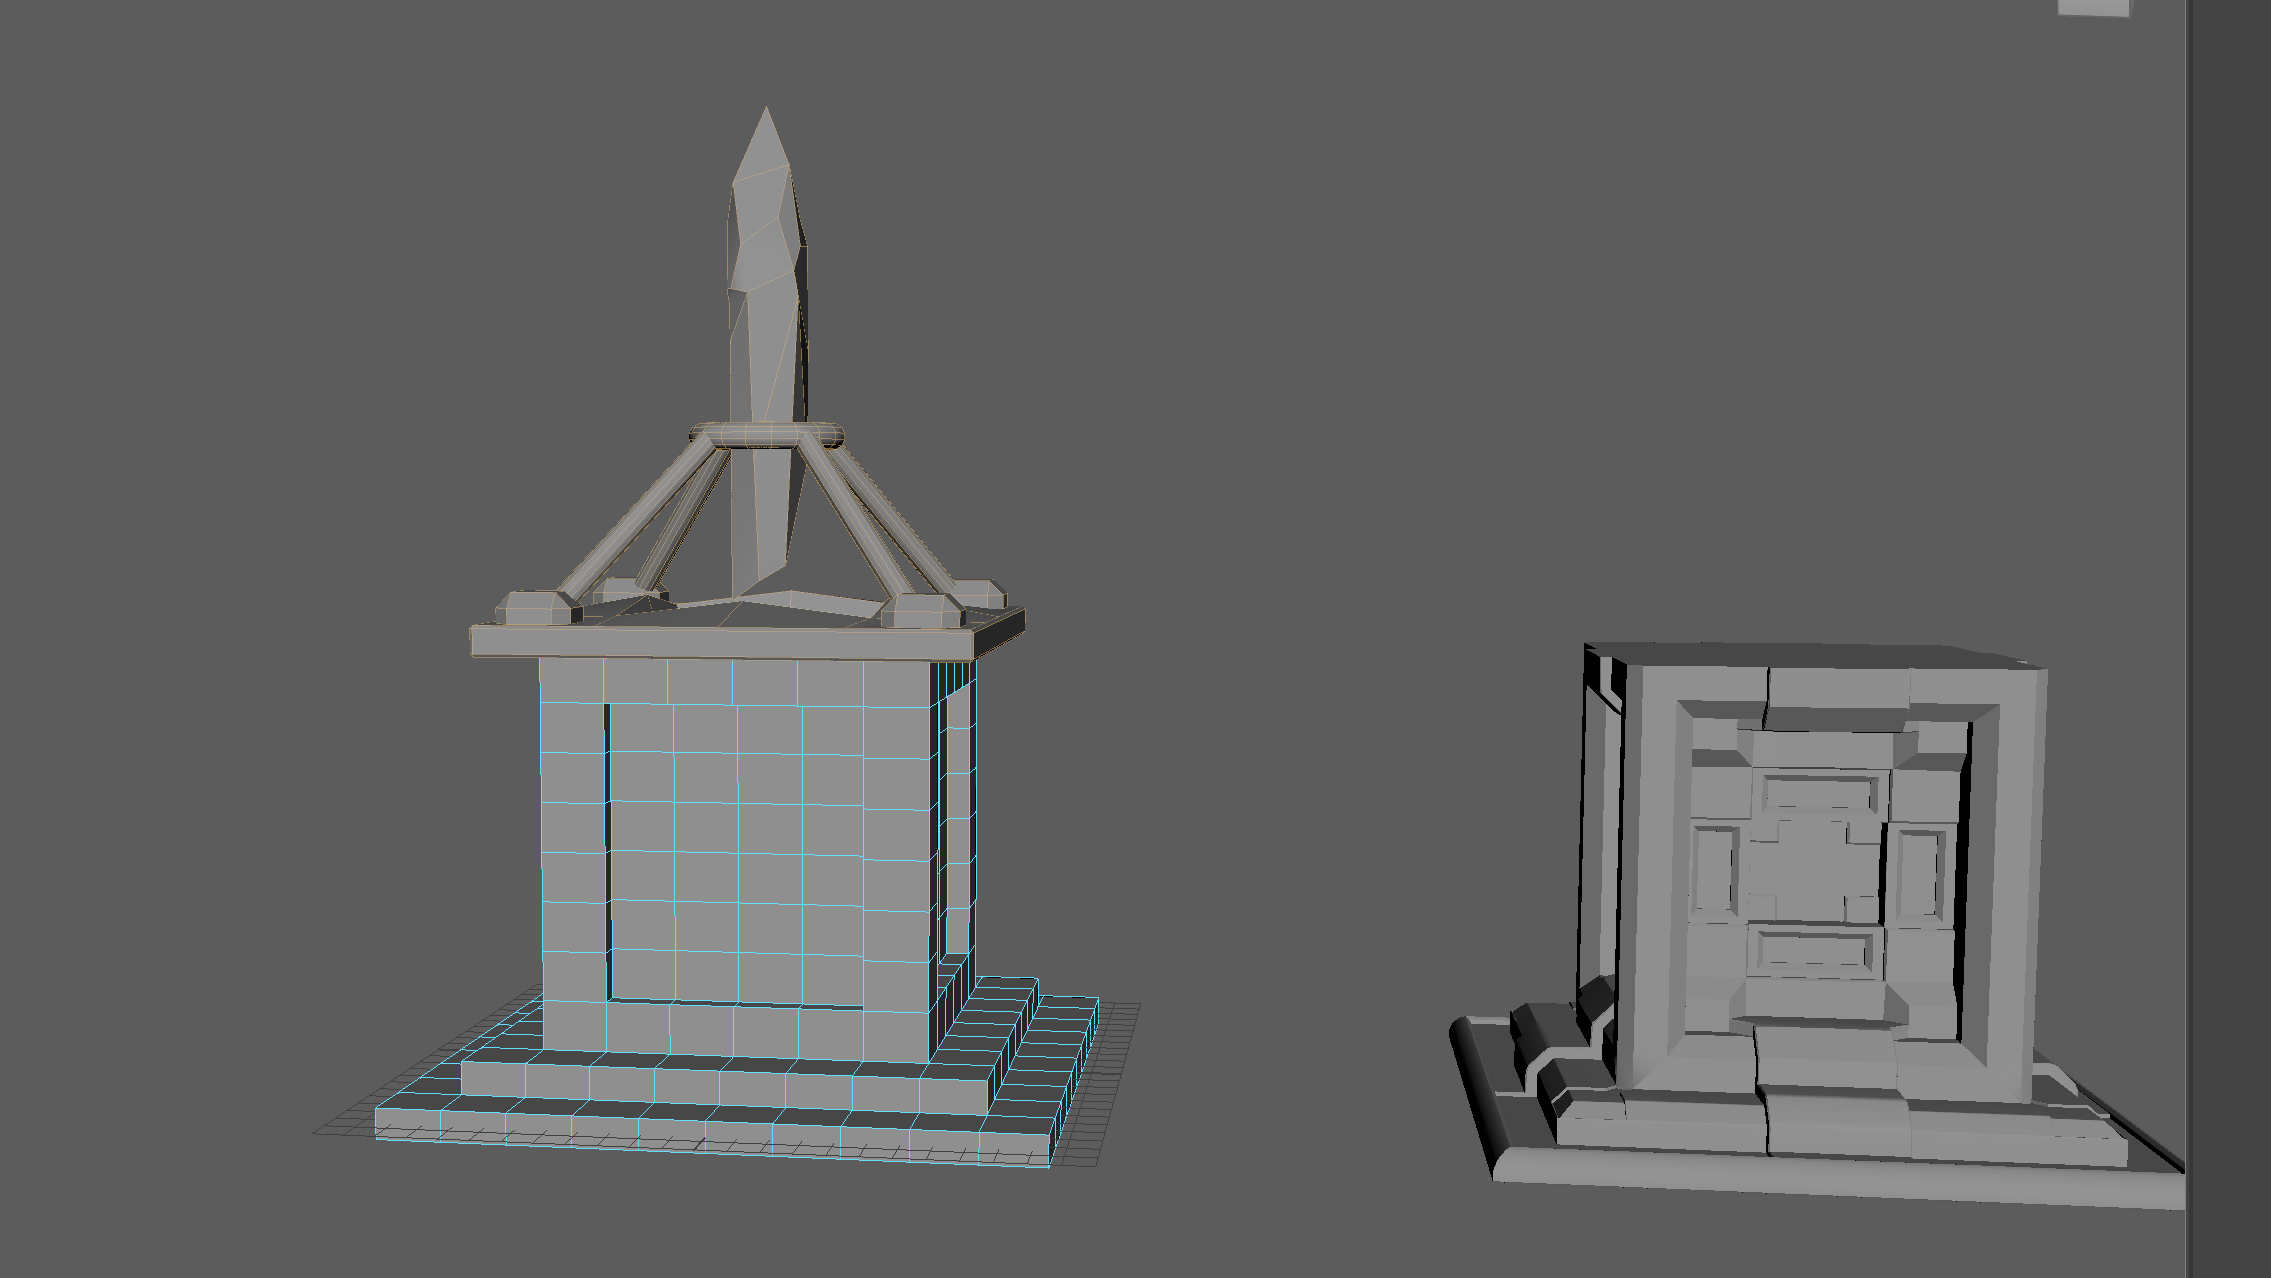
I still decided to extrude inwards in the same way, but this time I was constantly checking the inside of the asset to make sure none of the same errors were happening again. I also managed to work out the perfect way to bevel the edges so that no n-gons were created, which also gave the appearance to the asset that I was going for. Despite being initially annoyed that my first attempt at the asset did not work correctly, I’m glad it allowed me to learn how easily asset creation can go wrong if you’re not paying complete attention, and in the end it allowed me to create arguably a better asset.
After grouping all of the meshes together, I had a final poly count of 7462, which means I was safely below the max of 10,000. After one final cleanup, all of my polys were fine and my asset was almost ready to be imported into substance painter to be textured. I first had to UV unwrap my asset.
UV Mapping
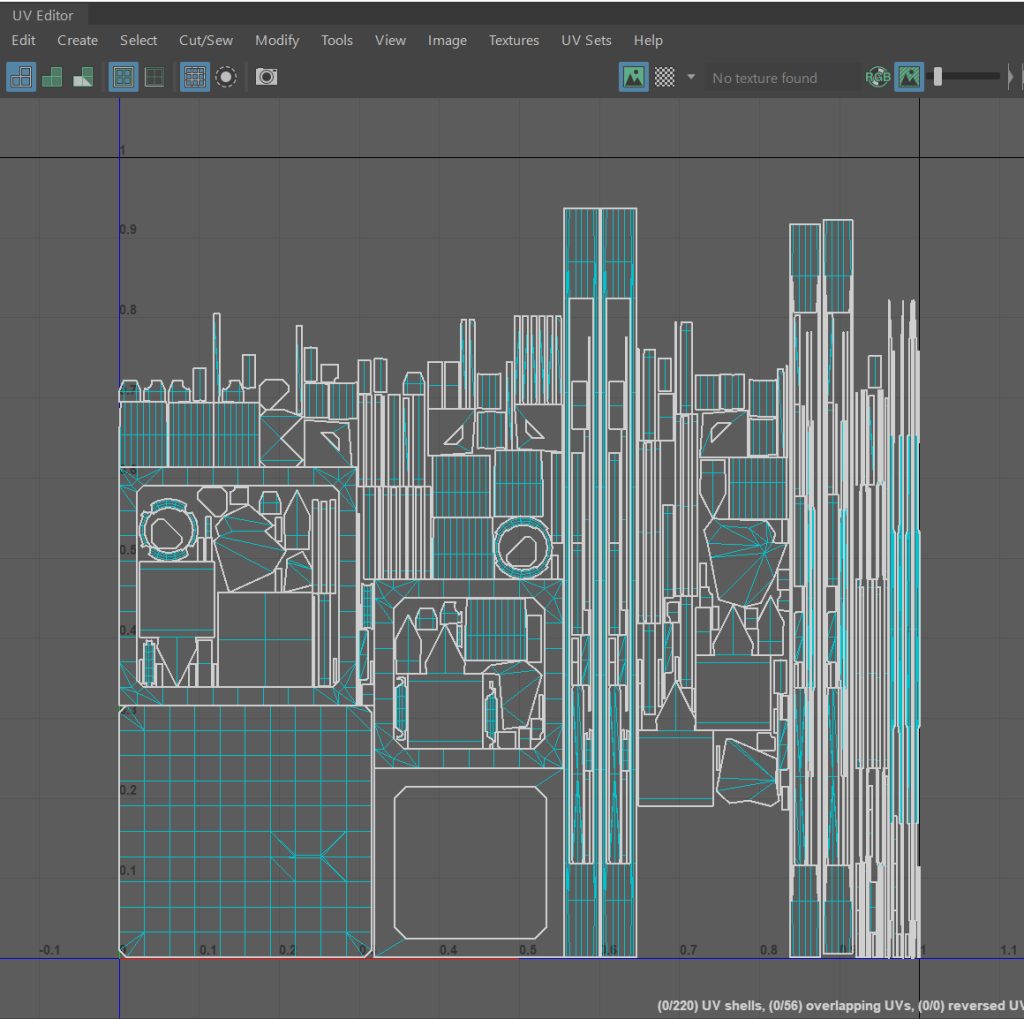
Using the auto unwrap tool, I unwrapped the mesh of my asset and at first it had split the pedestal and crystal onto separate maps as they are technically different meshes, but with some reorganisation, I managed to fit them all on the same UV map. This is important as when I import my asset into Substance Painter, It will allow me to add texture much easier.
Texturing
After first baking ID maps onto my asset, which allowed me to see which part of the UV map was which, I started to texture the pedestal. I decided to use a shade of black but instead of it being just a flat colour, I was able to add some wear which added some nice texture.
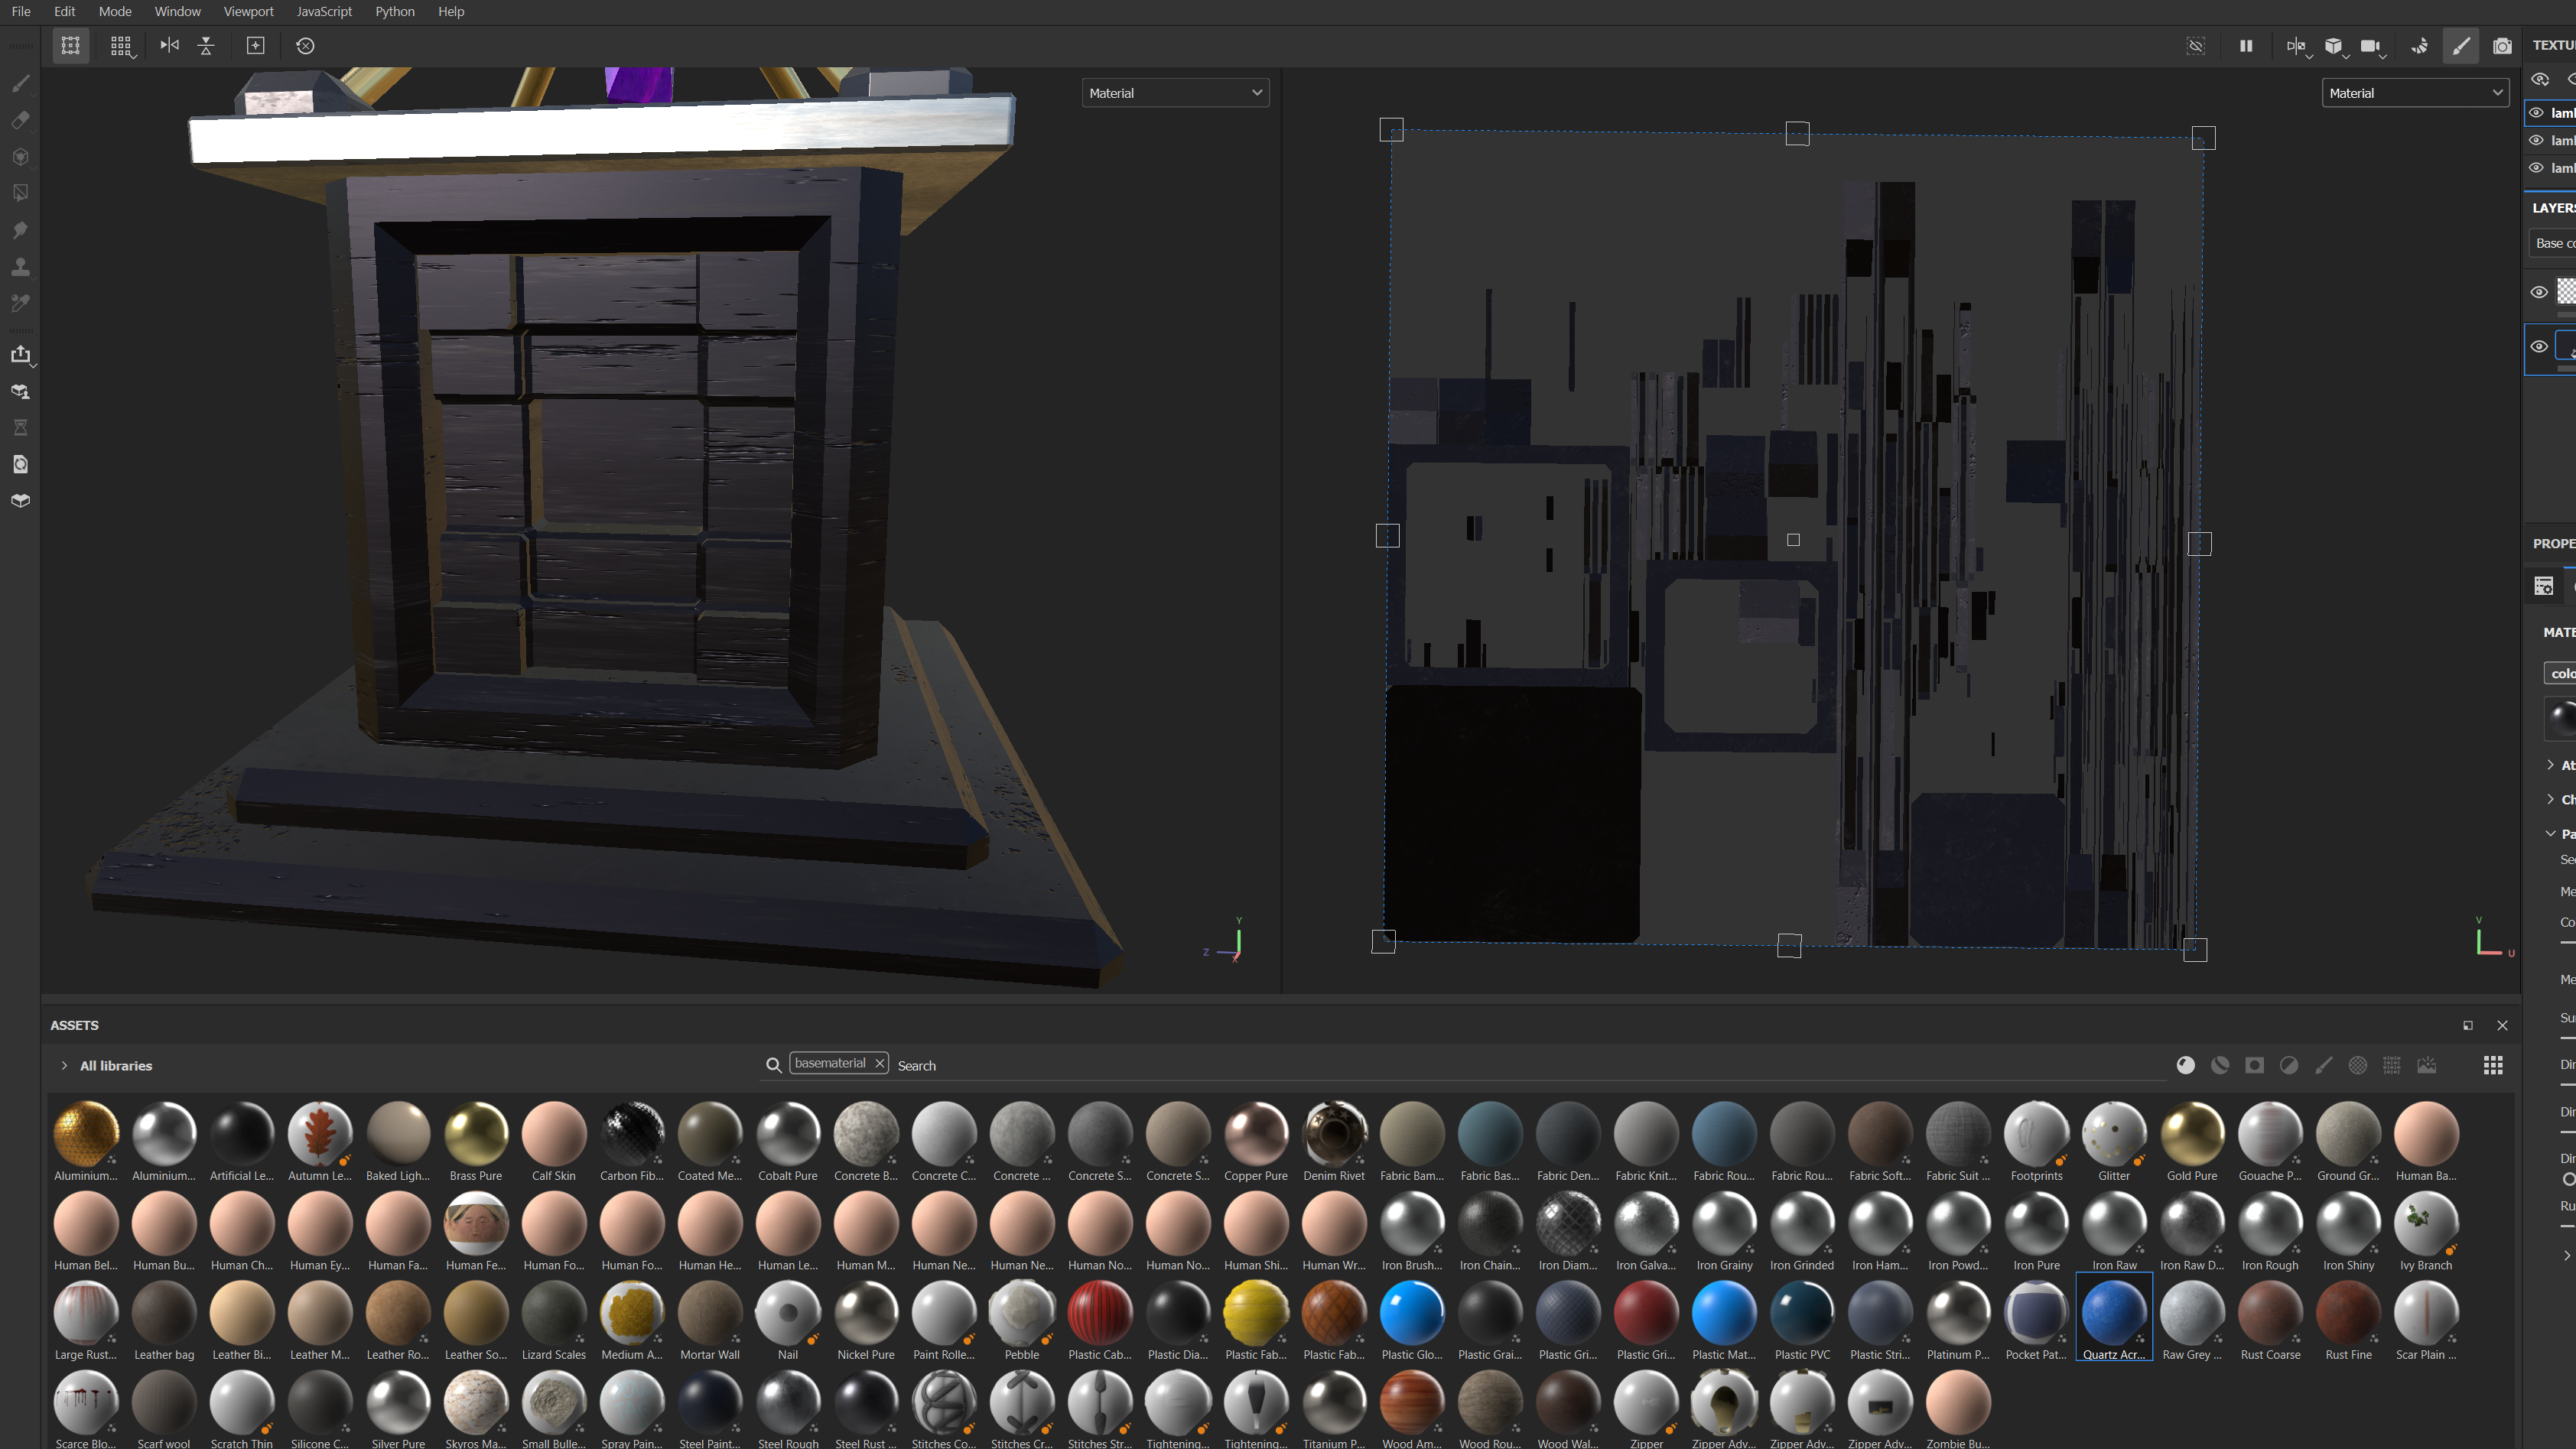
I then chose a silver coloured metal for the top of the base that worked well with the base colour, giving a good contrast. for the base of the stand, I used the same colour I used first so that there was a continuous colour throughout the whole asset. To add even more contrast and to make the top of the asset the most eye-catching part, I decided to make the rest of the stand gold, which also worked well with the purple texture I chose for the crystal itself. I didn’t want the purple for the crystal to be a flat shade, so I found a texture with swirls and altered the colours a bit until I found a combination of shades that I liked.
Lighting
To film my render and to take beauty shots, I took my asset back into Maya and by using a mesh plane, I made a backdrop for my asset. As well as this, I added area lights on each side of the asset, making sure to turn off normalise and altered the colours to achieve a studio lighting effect for my renders. I also added a disk underneath my asset so it wouldn’t be displayed just as it was, but with a bit more presentation. Before exporting with Viper, I used Arnold within Maya to make sure all the lights were working correctly and how I wanted them to.
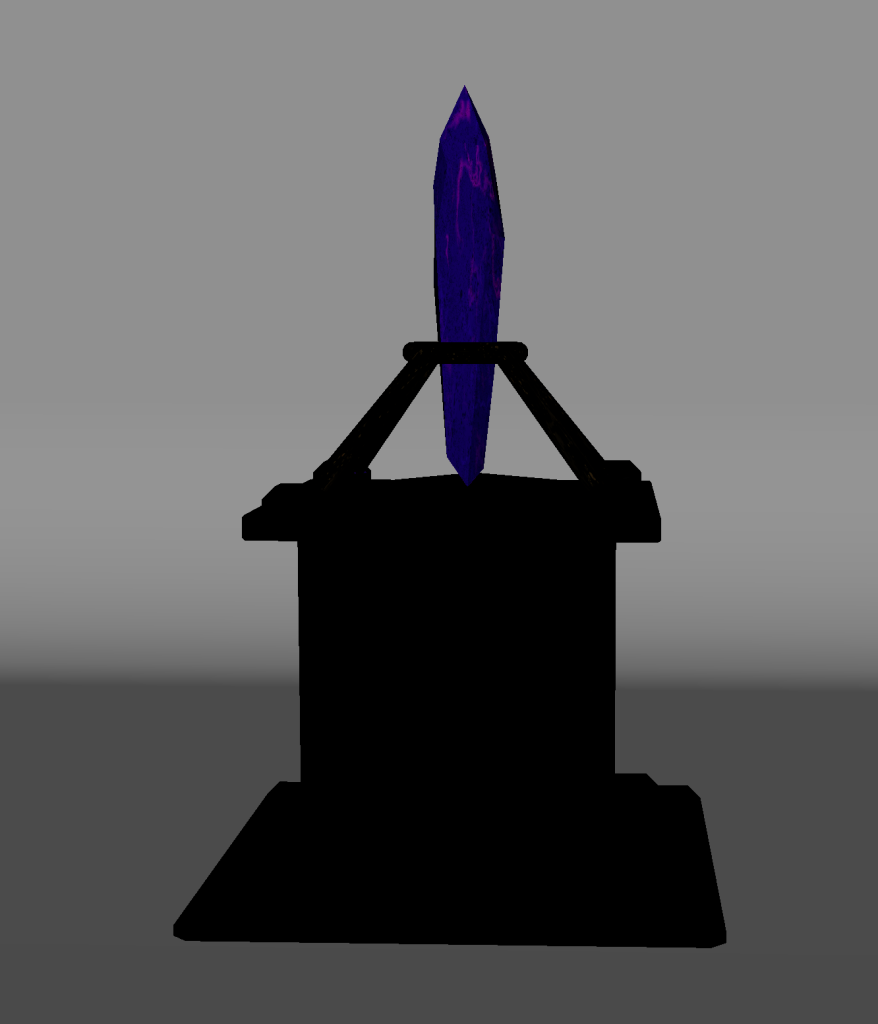
This is what my asset looked like unlit in Maya, and in the next post I’ll add all of my renders, beauty shots and my video showcasing the final asset.